Breathing New Life into My Atari ST with a 3D Printed Case
For years, I’ve watched aftermarket case projects flourish for the Amiga 500 and 1200 — sleek, modern, injection-molded shells that let aging systems shine again. But the Atari ST? It’s been sadly left behind. If you’ve ever owned one, you’ll know the ST’s case plastics are incredibly brittle, and time hasn’t been kind. So I asked myself: why not 3D print a new one?
Thanks to the good folks at PCBWay, who kindly sponsored this build, I got to put that idea to the test.
The Case for a New Case
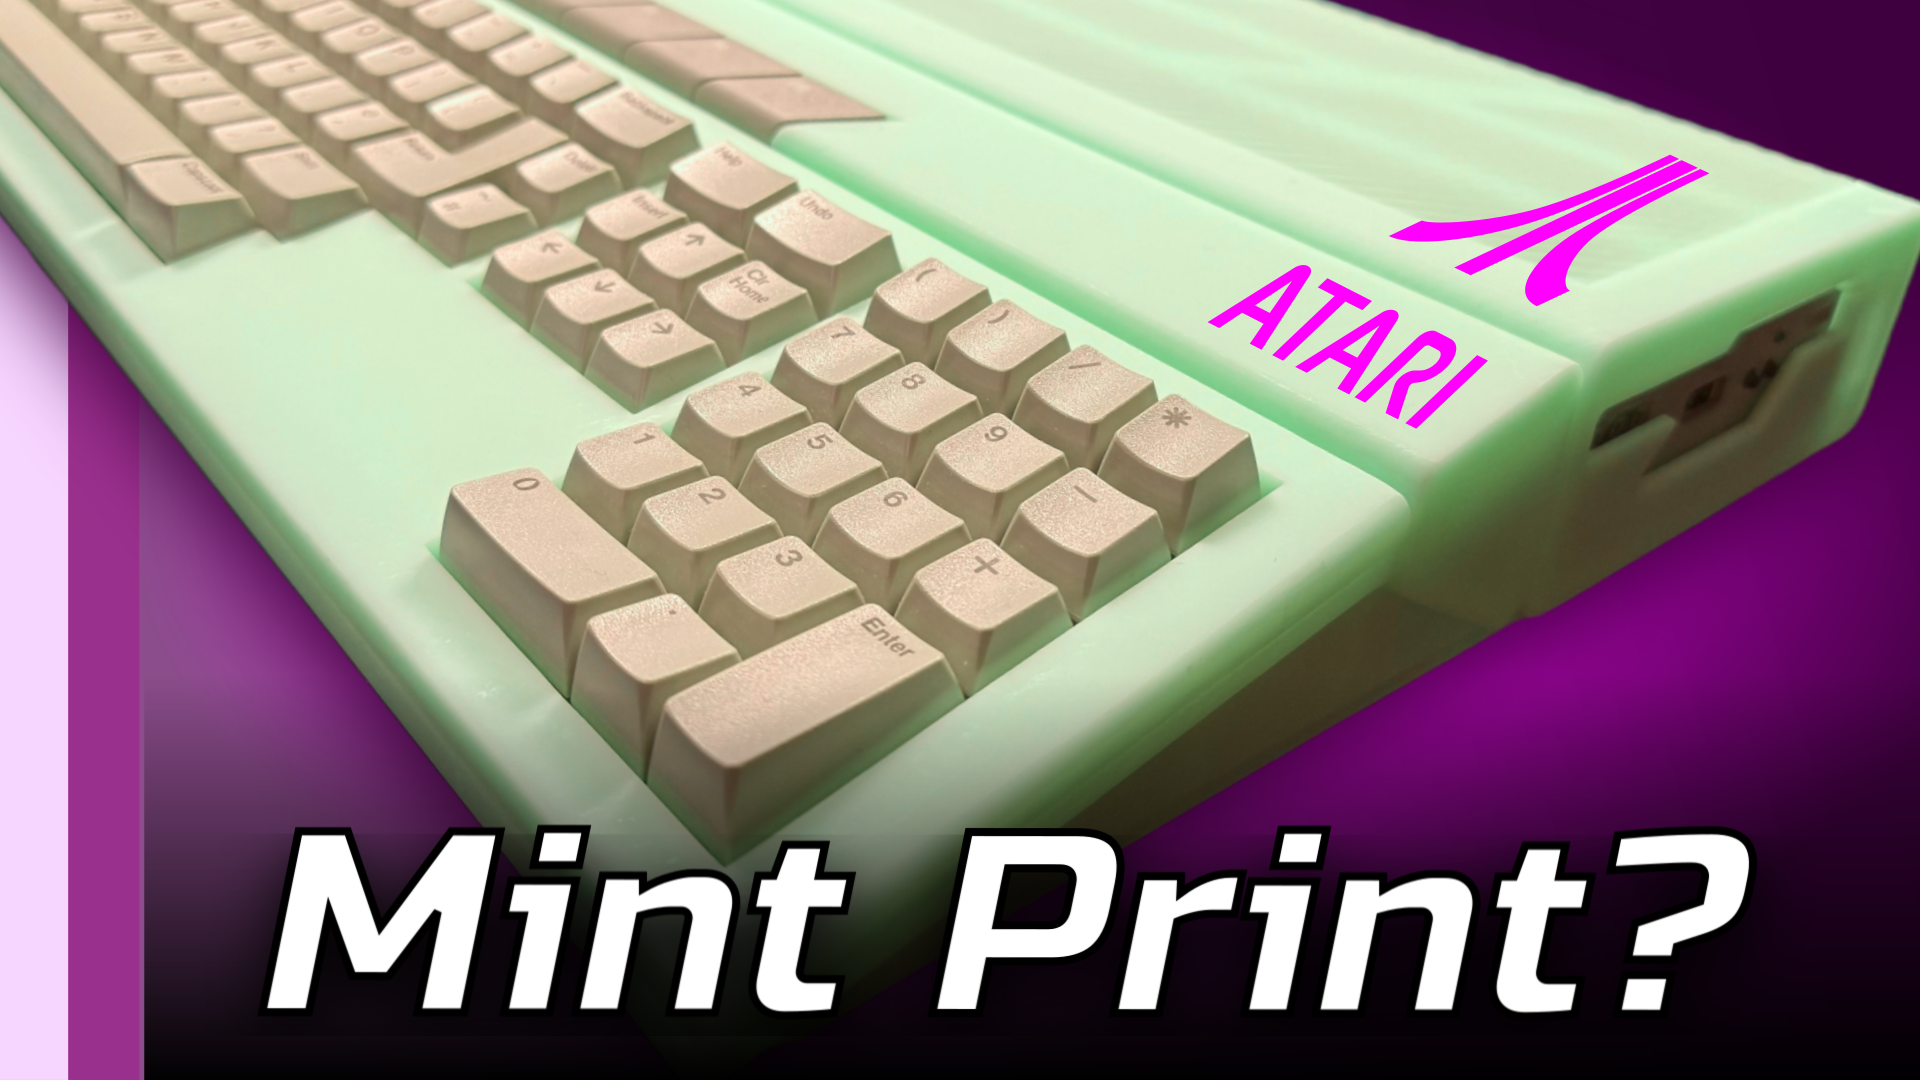
When the box from PCBWay arrived, I couldn’t wait to tear it open. Inside was something I’d never seen before — a one-piece, cleanly printed Atari ST case in bright green PLA. It’s wild-looking, sure, but what really impressed me was the quality. No warping, no surface imperfections. Just solid, crisp plastic. It honestly felt better than some original cases I’ve handled over the years.
Now, it’s not perfect. It’s missing the case badge recess and those little LED window cutouts the original had, but as a prototype? It’s miles ahead of anything I expected.
STFM Meets STF
This case was designed for an Atari STF — the version without the TV modulator. But my donor machine is a 520 STFM, so a few adjustments were needed. The modulator had to go, and I didn’t fancy drilling holes in the new case. So off it came. It was barely hanging on anyway, and after a bit of soldering and desoldering (complete with ancient, eye-watering flux), I had a clean board ready to go.
Upgrade While We’re Here?
Since I had the board out, I figured: why not upgrade it to a full 1MB of RAM and turn it into a 1040 ST? I installed sockets, decoupling caps, and popped in some chips I had in stock. It’s a pretty straightforward upgrade if you’ve got the components and a steady hand.
Fitting It All Together
With the upgrade done, I test-fit the board in the new case. Apart from a single tab that didn’t quite line up and a keyboard that fouled the lid ever so slightly, it all went together far better than I anticipated. After a bit of fiddling, the fit was spot-on. Even the Gotek drive slotted in nicely, though it’s a bit snug — something to revisit later, perhaps.
Originally, I was going to paint the case a classic IBM-style gray, but honestly? The green’s growing on me. It’s weird, it’s different, and — if I’m honest — kind of cool.
What’s Next?
I might revisit the paint job in the future, but for now, I’m just thrilled to have given my Atari ST a fresh new home. Huge thanks again to PCBWay for supporting this project and delivering such a high-quality print.
If you’ve got strong opinions about whether I should leave it green or go gray, drop a comment — I’d love to hear your take.