Amiga
-
My Journey to Build a Fully Functional Amiga 500 Plus in a Mini-ITX Case (and Survive the Battery Damage, Fake STM32s, and 2000 Angry Sockets)
There are two kinds of retro builds: the ones where everything just clicks into place, and the ones where you spend hours soldering your way into a functional Amiga… only to discover you put a SIM socket in backwards. Ask me how I know. In this post, I’m taking you along my hands-on journey to build a fully functional Amiga 500 Plus using a dense Denise board in a mini-ITX case—including the keyboard/PS2 “modern comfort” upgrades, the FlashFloppy GOTEK stack, the joystick/drive mods, and the hilarious-but-educational detours caused by mistakes, tight tolerances, and a small army of sockets. Watch the video on YouTube Starting Point: “This Isn’t a Raspberry Pi”…
-
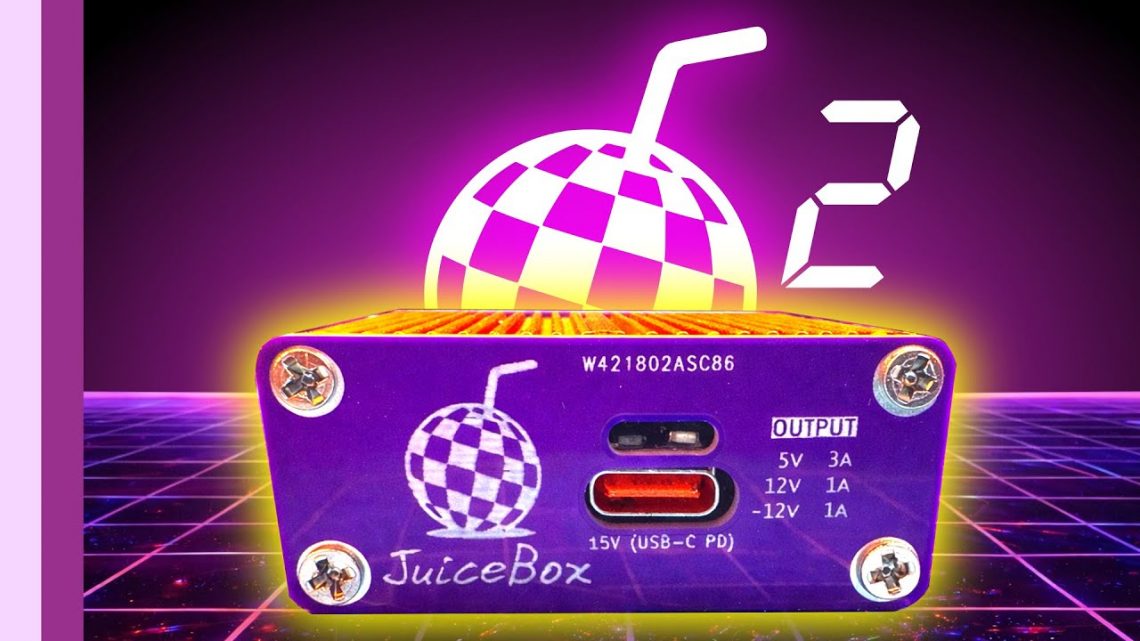
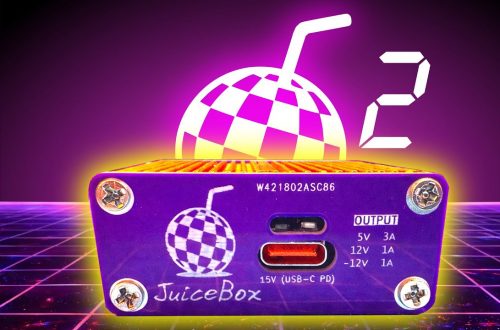
JuiceBox: From Purple PCB to an Upgraded Power Supply (Amiga USB-C Power, Revision 2)
There’s a special kind of nostalgia that kicks in when you’re powering an old computer with modern bits. It’s half engineering, half archaeology—like digging up a treasure chest but realizing it’s full of capacitors and optimism. In my JuiceBox series, I set out to make a compact, USB-C-powered supply for an Amiga—starting with a purple PCB in an orange case, then pushing it through real-world use, teardown nerves, and finally an upgrade to make everything tidier (and calmer) in revision 2. watch it here Chapter 1: The Orange Case Dream (and the Purple PCB that Made It Happen) Before the JuiceBox had a name and a case, I’d already been…
-
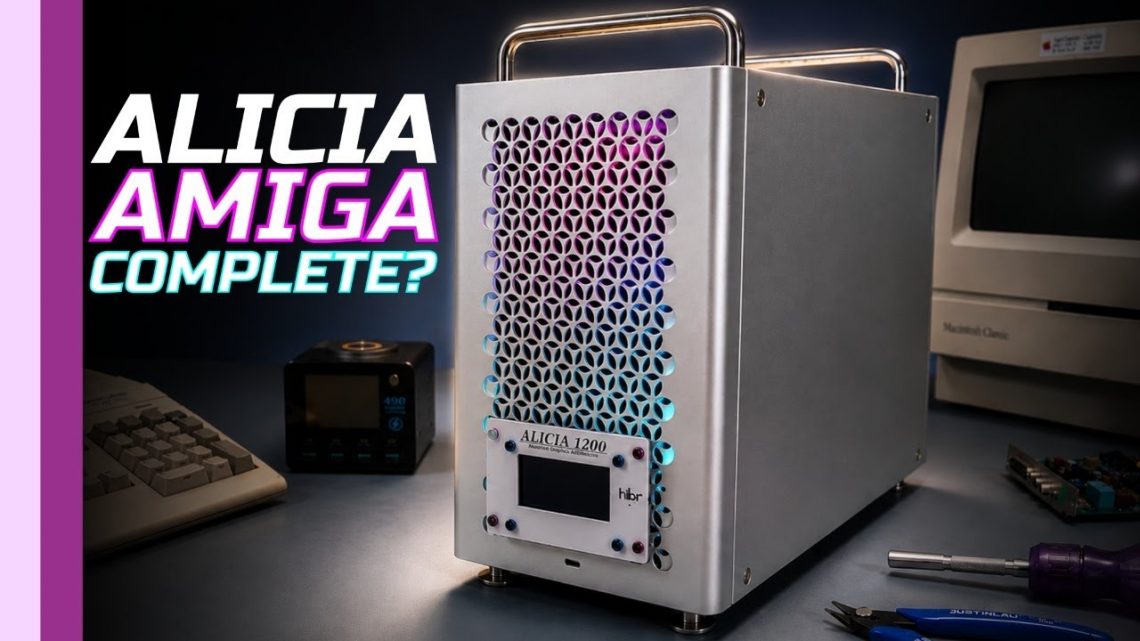
Alicia Build: Resurrecting an Amiga 1200 into a Mini-ITX “Mac Pro”-Style New Home
I didn’t set out to build “another retro computer.” I set out to resurrect an Amiga 1200 in a different form factor—only to discover, as always, that the past has a way of handing you extra homework. That’s the ethos behind my “Alicia” series: journeying forward into the future while journeying back to remember the past and learn from its lessons. In other words: yes, we’re making something tiny and powerful… but we’re also documenting the dents, the detours, and the surprisingly educational moments along the way. watch the Alicia build complete—Part 1 here Chapter 1: Resurrecting the Amiga… into an Alicia When I started this Alicia project, it really…
-
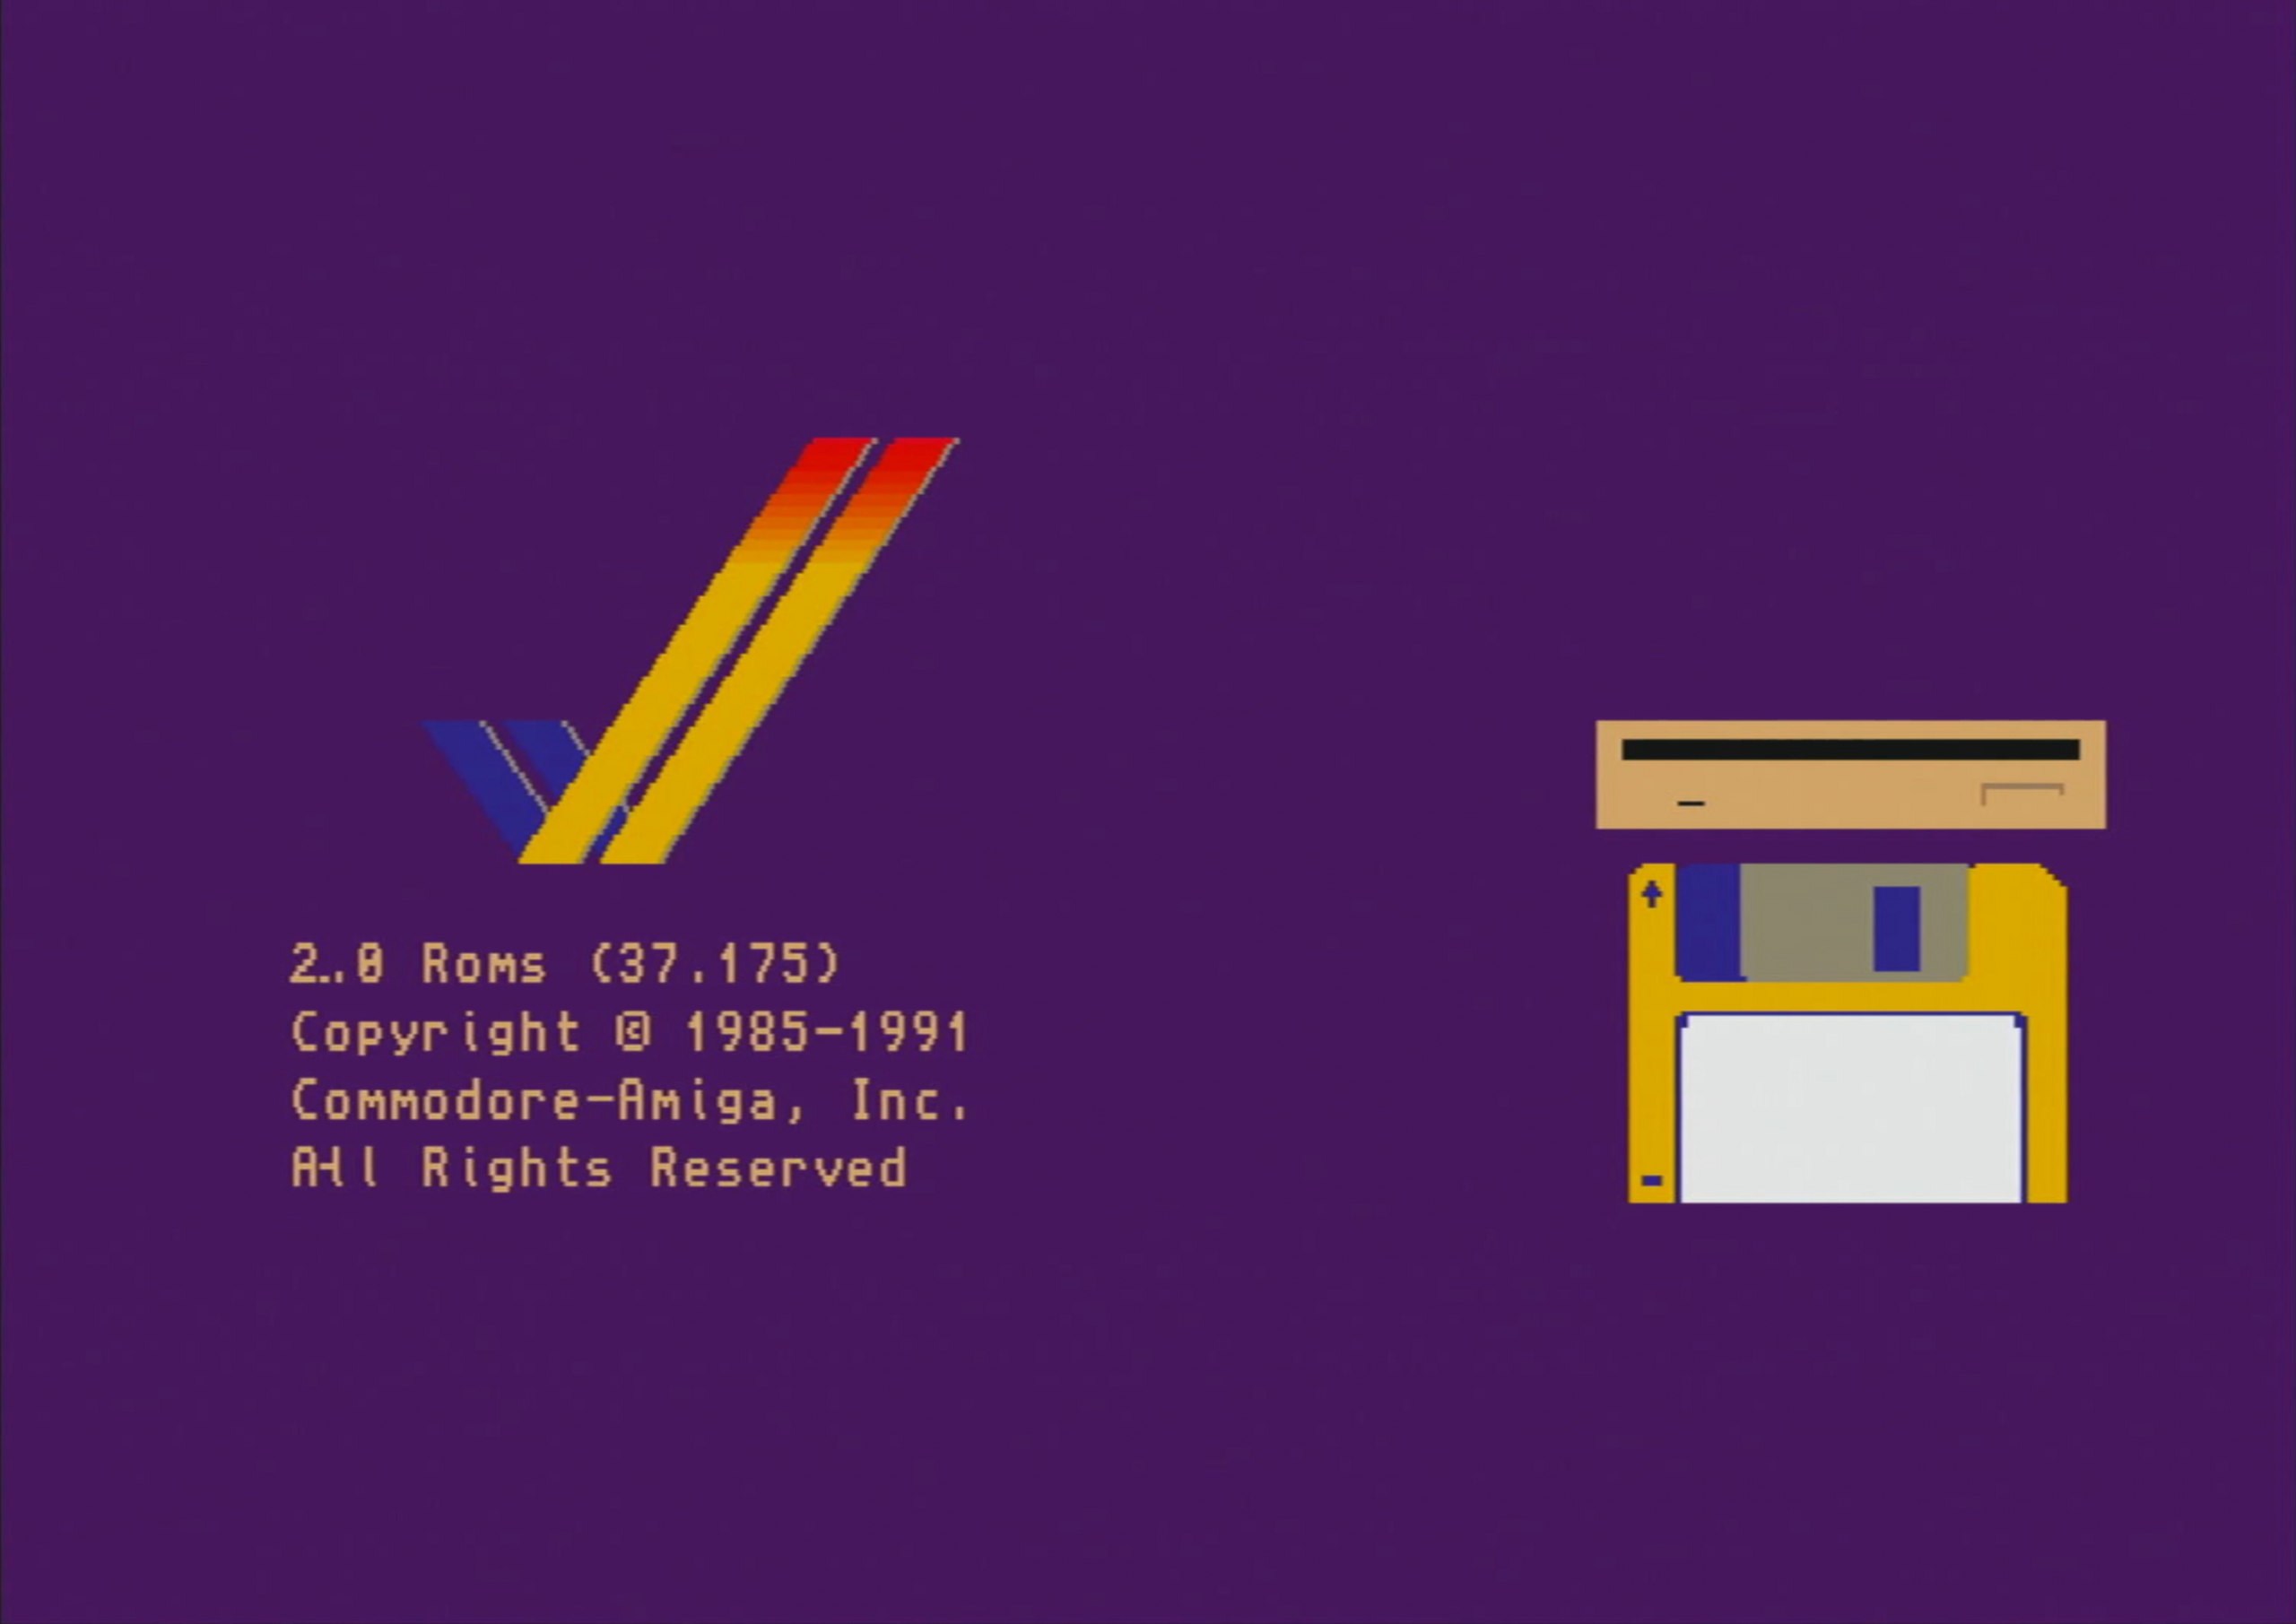
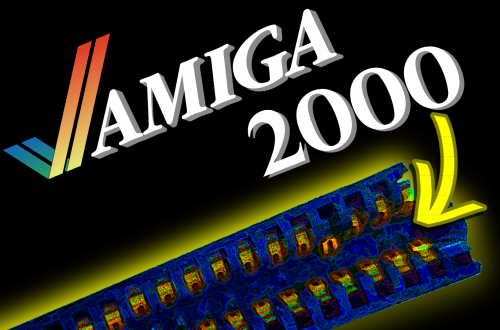
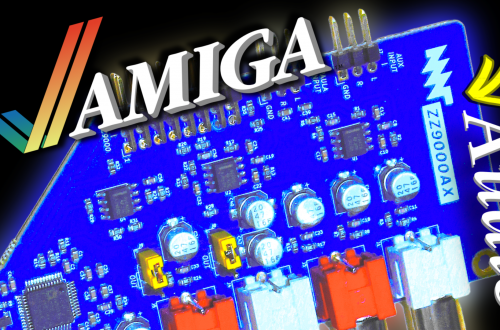
The Curious Case of the ETX Amiga 2000: A Debugging Odyssey
What you see on the bench now is a working ETX-form Amiga 2000—but to understand how we got here, we need to rewind a bit. This strange little tale really begins when I picked up the board from Cathers in Cambridge. The First Setup Fresh back from Cambridge, I wired it up with a ROM switcher—technically meant for an A600. Not the perfect fit, I’ll admit, but it had all the Kickstart images I needed to investigate the problem for myself. That issue? Something was seriously wrong with the display—especially under Kickstart 2.0 or higher. The colors were just… off. Glitching, corruption, odd effects during animation. It was like looking…
-
A600 Upgrades Continue
After completing the restoration of my Amiga 600, I found myself craving a deeper challenge. Sure, I could’ve gone all out with accelerators and high-end mods, but that’s expensive, and honestly, I wasn’t looking for overkill. What I really wanted was a compact machine that stayed true to its roots while still offering a touch of modern convenience—perfect for playing classic games. Aesthetic Masterpiece Externally, the A600 is now a thing of beauty. It’s got a two-tone paint job with a gunmetal gray top and a pearlescent candy orange bottom. If I’m being honest, it’s probably one of the nicest case customizations I’ve ever done. But as striking as it…
-
Flashing PCIe X1900GT for G5 Mac
I did this to install MorphOS on a PCIe G5 PowerMac Required Hardware Flashing Steps MS-DOS Boot Disk Download I have a pre made disk image here Dos6.22 ATI.img at the prompt type cd ATI then to check the contents type dir You should see ‘X1900GT.ROM’ and ‘ATIFLASH.EXE’ listed. We need to know the adaptor number, type atiflash -i note the adapter number of the installed X1900 GT, which is identifiable by the ‘R580+’ tag in the middle column. Usually, the adapter number to the far left of the ‘R580+’ will read ‘0’, provided the card was installed to the PC’s first (or only) PCIe x16 slot. Note In the…
-
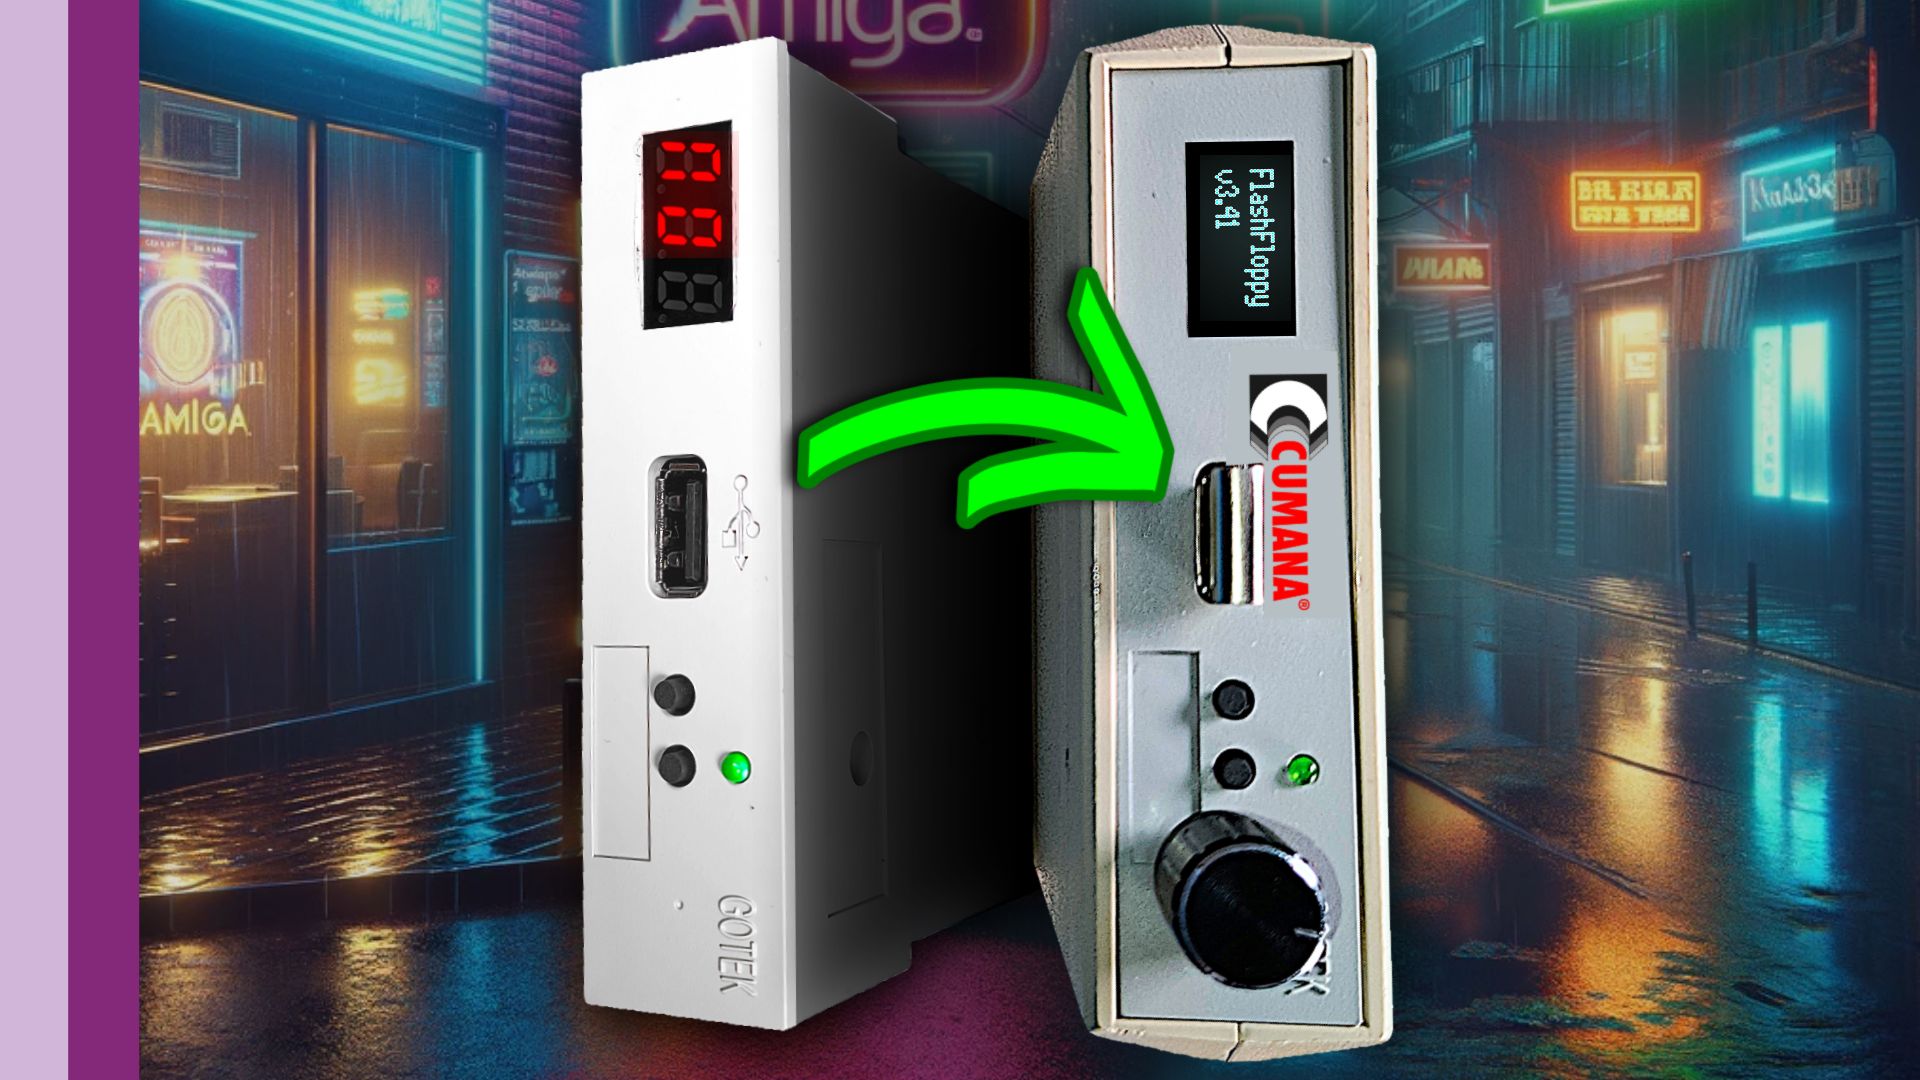
The Purple OLED Project
If you’ve been following my journey, you might recall a video I did a while back where I converted an old Amiga external floppy drive into something cool and retro-inspired. If you missed that one, no worries—I’ve linked it below. We’re taking things a step further. I’m about to transform this incredibly grubby, stained Cumana drive into something truly special, and I’m super excited to share the process with you. Retro GOTEK The Vision: A Purple OLED Dream Ever since I started this project, I’ve had one thing in mind: creating a purple OLED screen. I know it sounds a bit ambitious, but that’s exactly what I’m aiming for. Imagine…
-
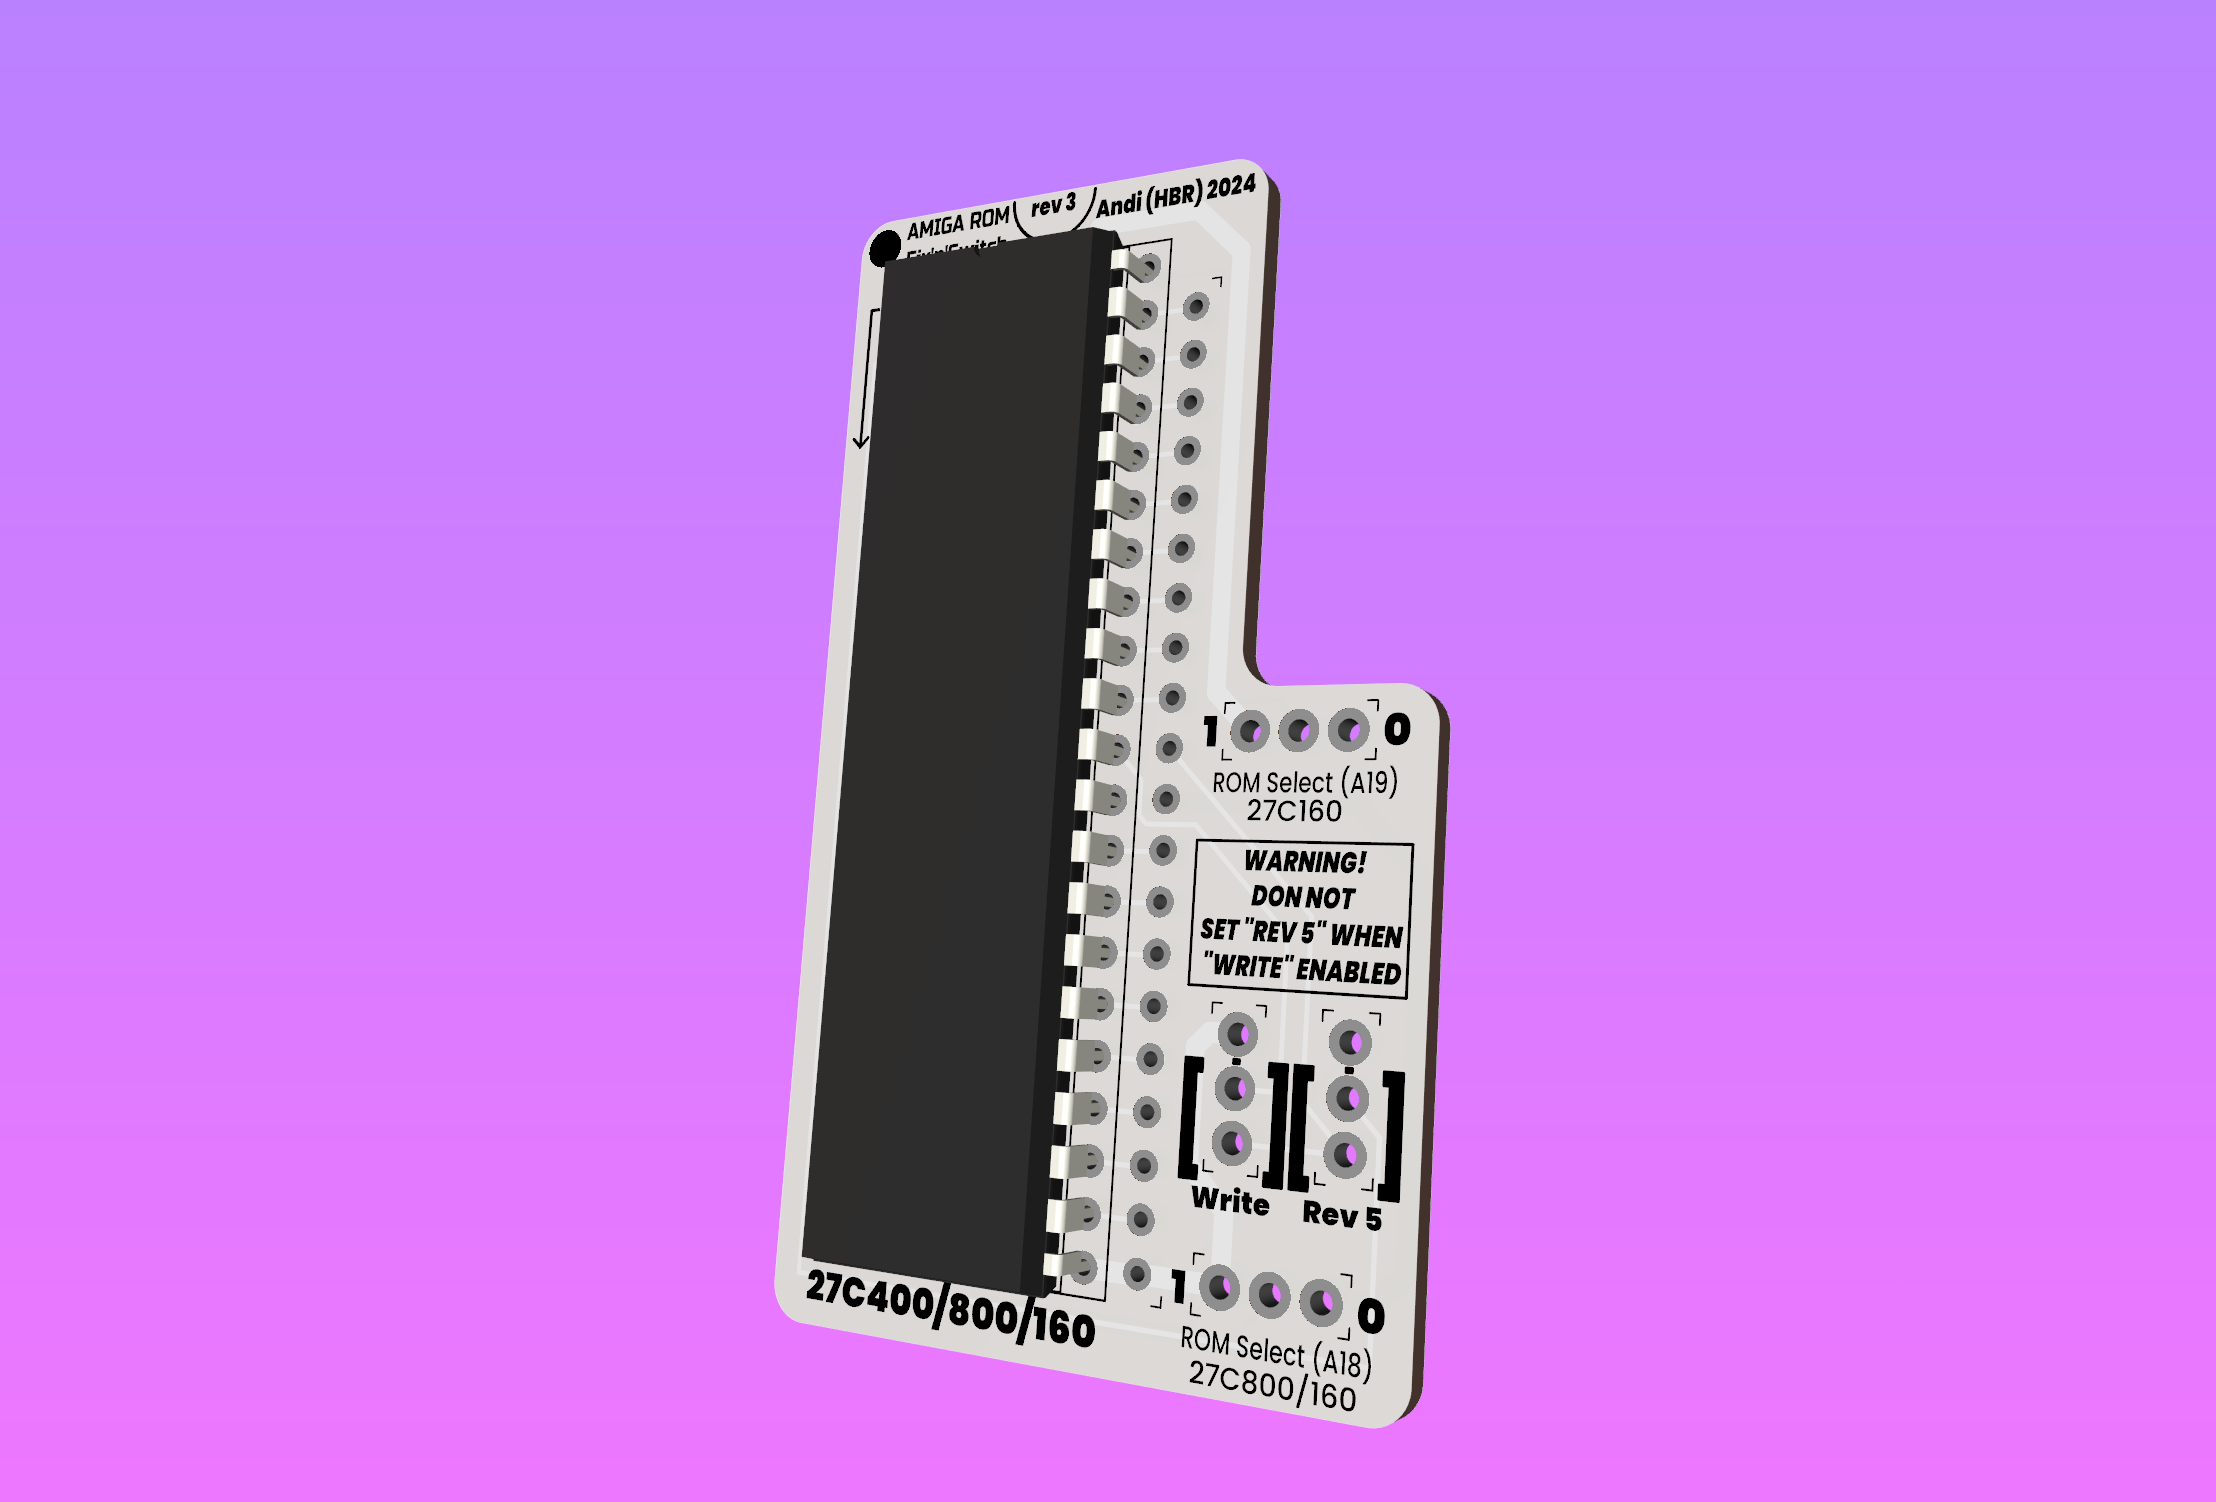
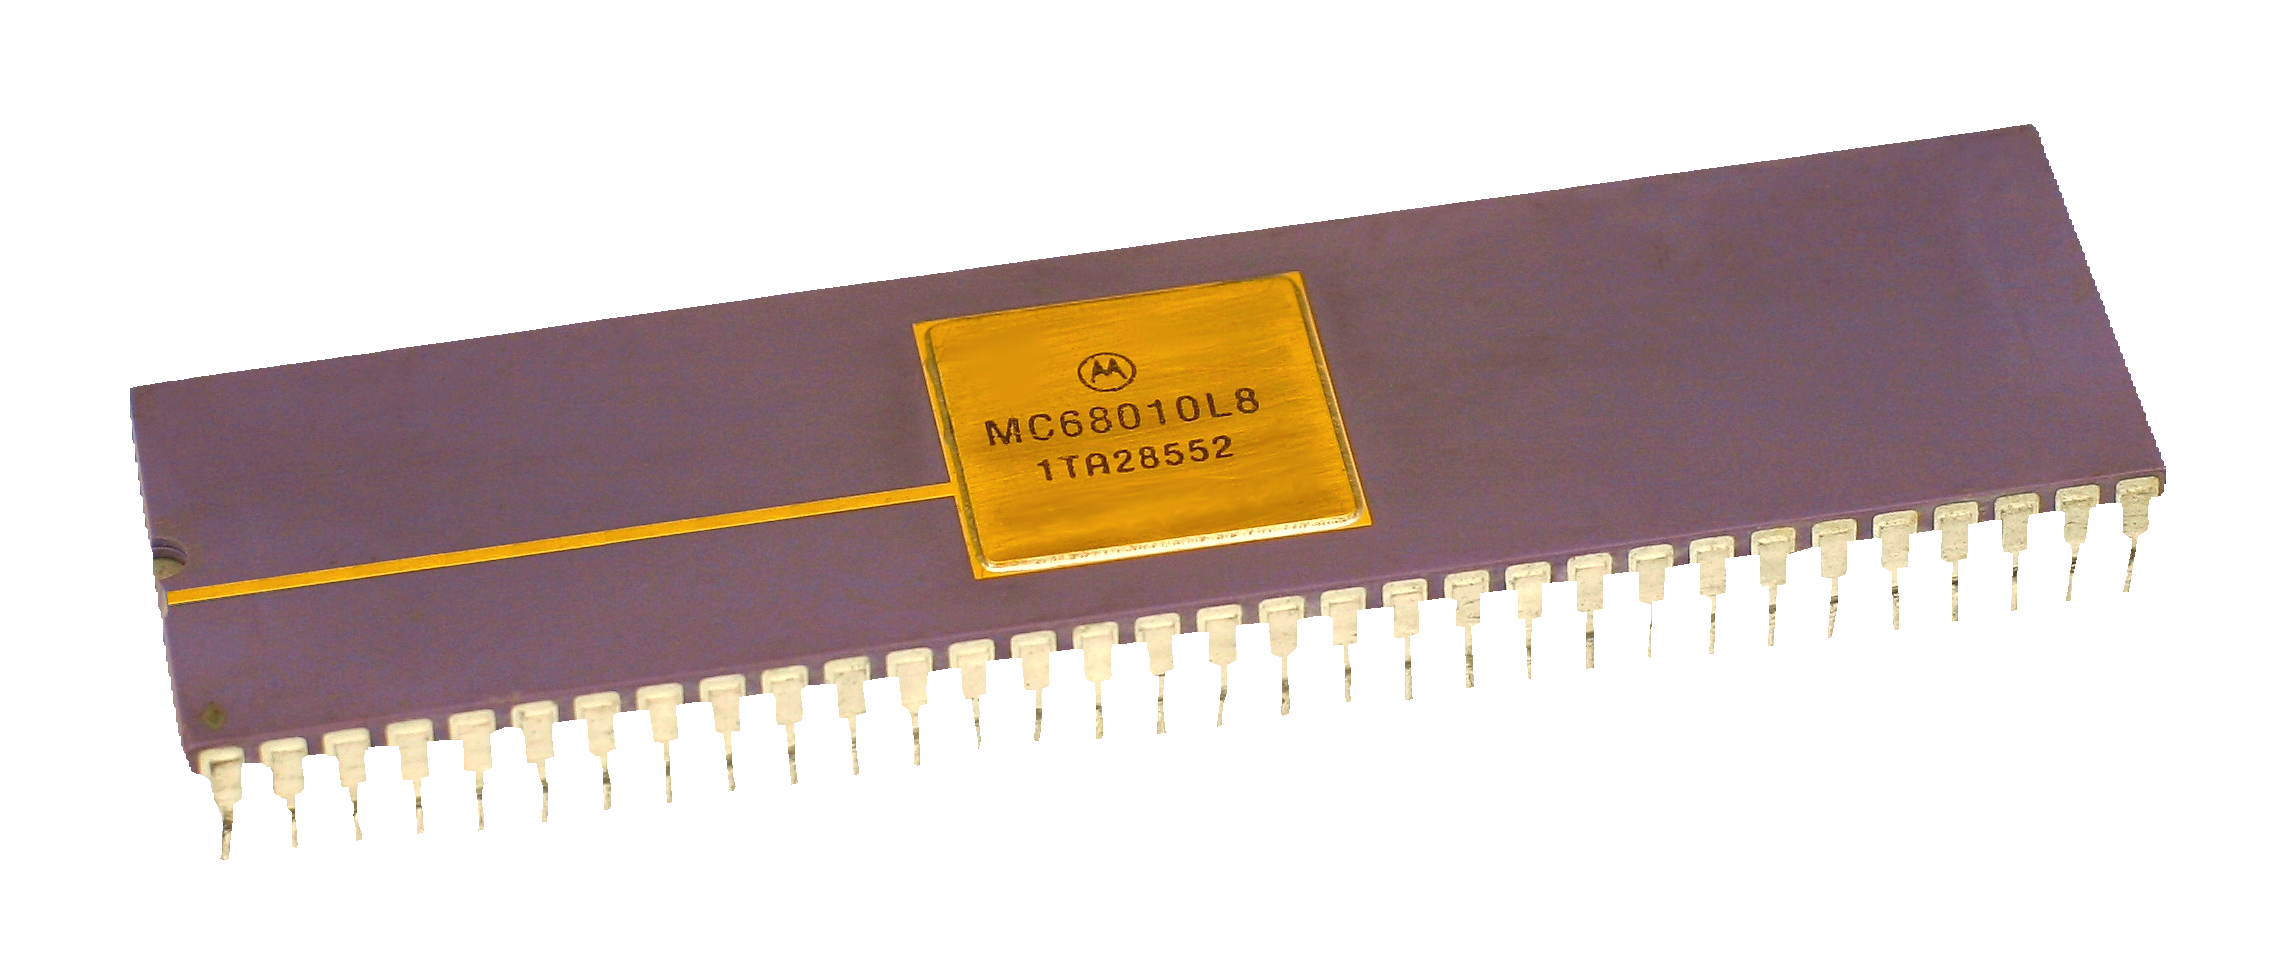
My Journey Creating a Universal Amiga ROM Switcher
In the world of retro computing, where nostalgic gamers reignite their passion, the Amiga stands as a titan of vintage technology. My latest project has taken me on an epic journey to create a ROM switcher for these beloved machines. This isn’t just an upgrade; it’s a labor of love to preserve and enhance a classic. The Challenge: Building a ROM Switcher I set out with a simple goal: to build a straightforward, passive ROM switcher for the Amiga. The challenge arose from the fact that not all Amigas were made equal. The early revisions of these machines had a hardware bug where the ROM socket wasn’t correctly wired. Specifically,…
-
The Final Chapter of the Amiga 500 Frankenstein Build
Part 1 is here -> Building a Frankenstein Amiga: A Journey of Restoration and Customisation Welcome to the final part of my Amiga 500 Frankenstein build, which I’m doing for the More Fun Making It charity auction. This journey began with a couple of neglected and yellowed A500 cases. Well, to be precise, it involved parts from at least three different cases that had all seen better days. One of the bottom halves was particularly damaged, so I swapped it out for a better one. When this project is finished, it’s going to be more of a Cinderella transformation rather than an ugly sister. However, I must warn you, the…
-
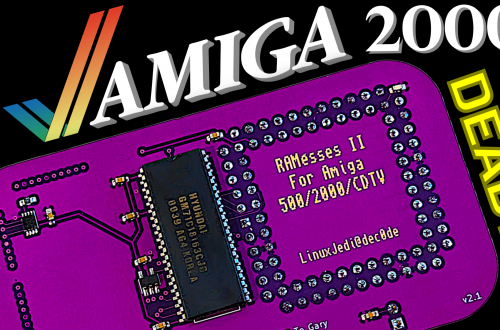
Building a Frankenstein Amiga: A Journey of Restoration and Customisation
Today, I’m diving into another exciting project: creating a Frankenstein Amiga from various parts I have lying around. Most of these parts come from a job lot of leftover spares I found on eBay. You might be wondering why I’m doing this. Well, I’m challenging myself and also building an Amiga for a charity auction organized by a friendly man named Lee from the YouTube channel More Fun Making It. The Challenge Begins There’s something a little strange going on with this Amiga 500 Revision 5. It seems that not all the RAM chips are managing to output TTL logic levels. Based on what I’m seeing on the scope diagram,…