Reviving the Amiga 2000: A Journey of Restoration and Problem-Solving

I’ve taken on the challenging yet rewarding task of bringing an Amiga 2000 back to life. If you’ve been following along, you know the journey hasn’t been smooth. The last update left the Amiga half-assembled with a problematic CPU slot and an overheating hard drive. As if that wasn’t enough, the power supply decided to give up on me.

Upon deeper inspection, it was clear that more work was needed. The power supply was non-functional, leading me to replace a suspect capacitor, though these fixes didn’t solve the problem.

Delving deeper, I decided to replace the voltage comparator and the strobe controller—fortunately, these parts were inexpensive. I installed new sockets and integrated circuits, hoping this would fix the issue.

Despite all these efforts, the power supply still failed. This led me to completely recap it, which seemed promising until it catastrophically failed again after just 15 seconds. I realized that some parts were either unknown or impossible to find.

I obtained a COMPAQ HB 146 SNQ power supply that mirrored the Amiga 2000’s requirements, I decided to adapt an ATX power supply, ensuring it matched the original’s settings. This required making it a permanent 230-volt input and using the original Amiga 2000 switch to activate the ATX’s PS-ON signal, effectively integrating it with the original system.

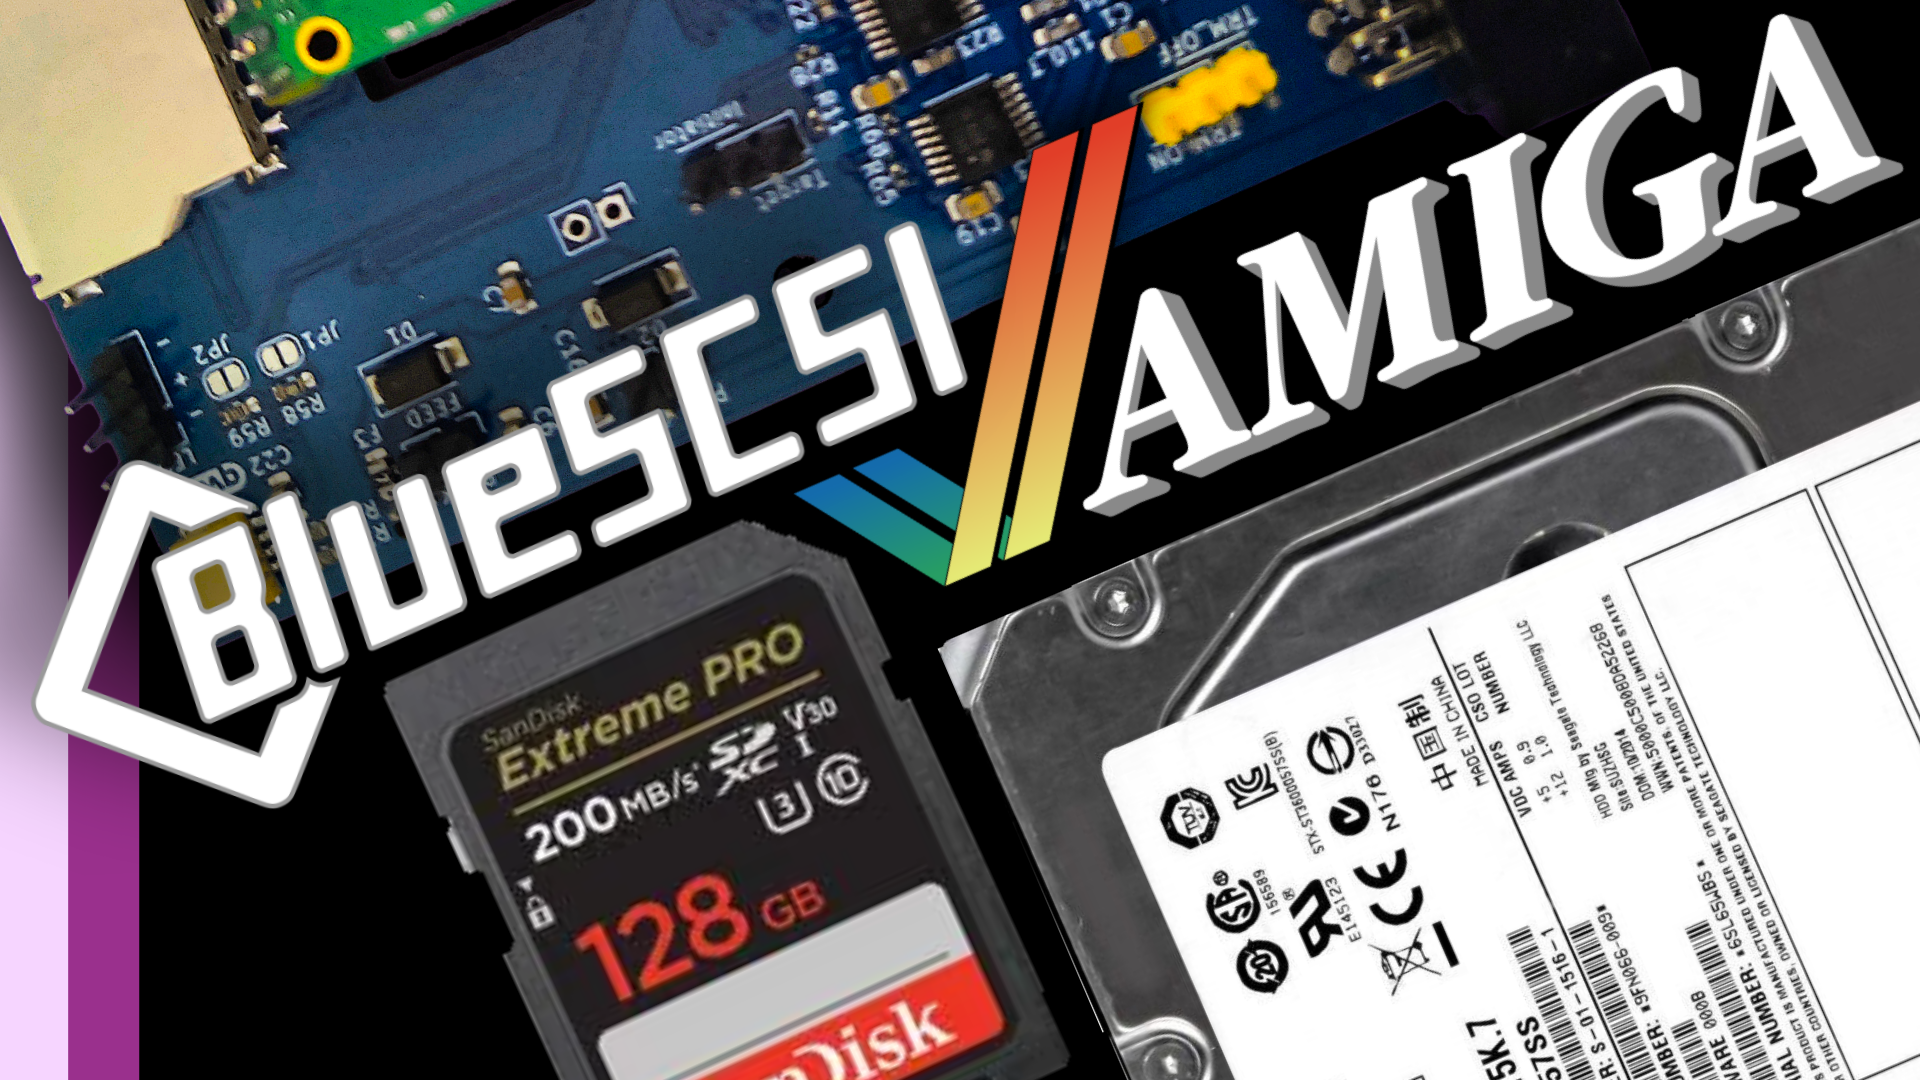
Testing the new setup, I used an old SCSI hard drive as a load to ensure stable voltage outputs. The results were satisfactory, with the 5V line perfectly on target, although the 12V line was slightly low—a point some might contest.

With the power supply sorted, I turned my attention back to the Amiga itself. I cleaned up acid damage on the board, replaced the battery with a more reliable one, and swapped out the old hard drive bracket for a 3D printed back plate, enhancing the setup.

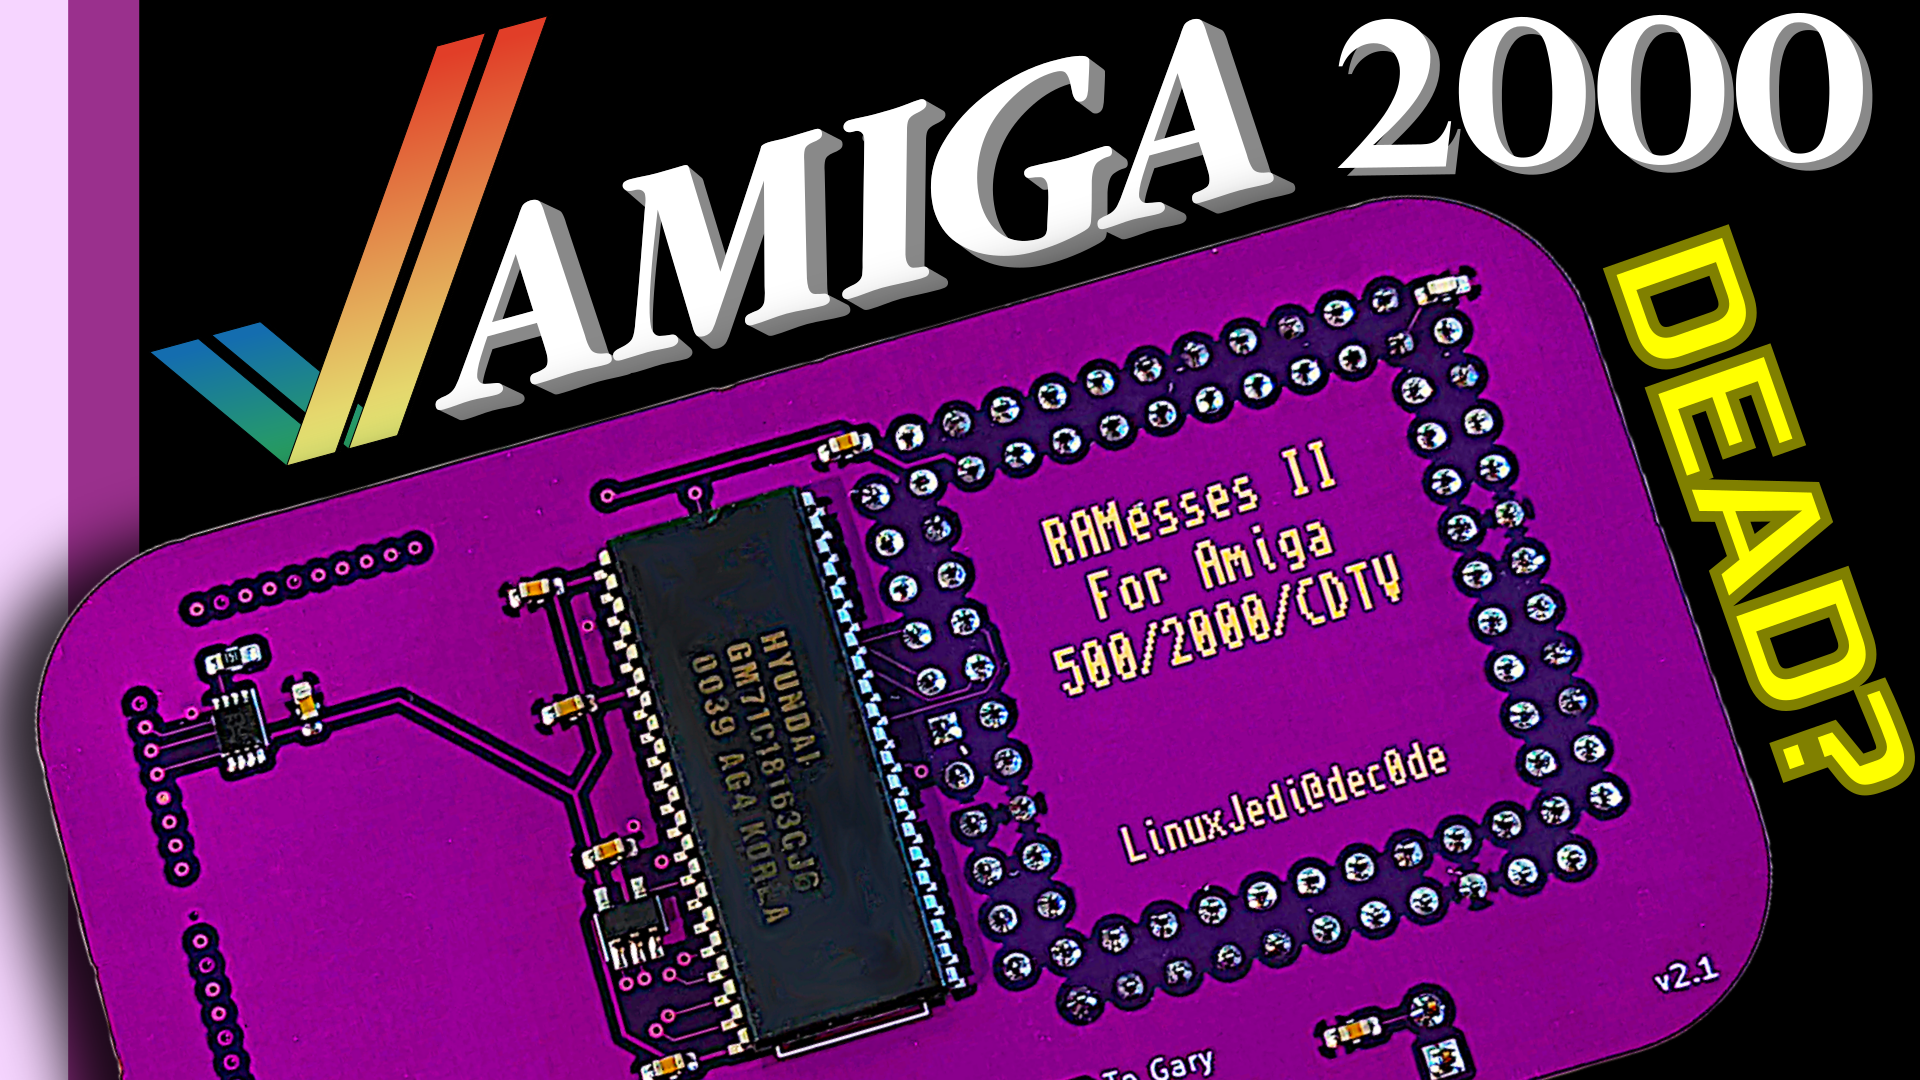
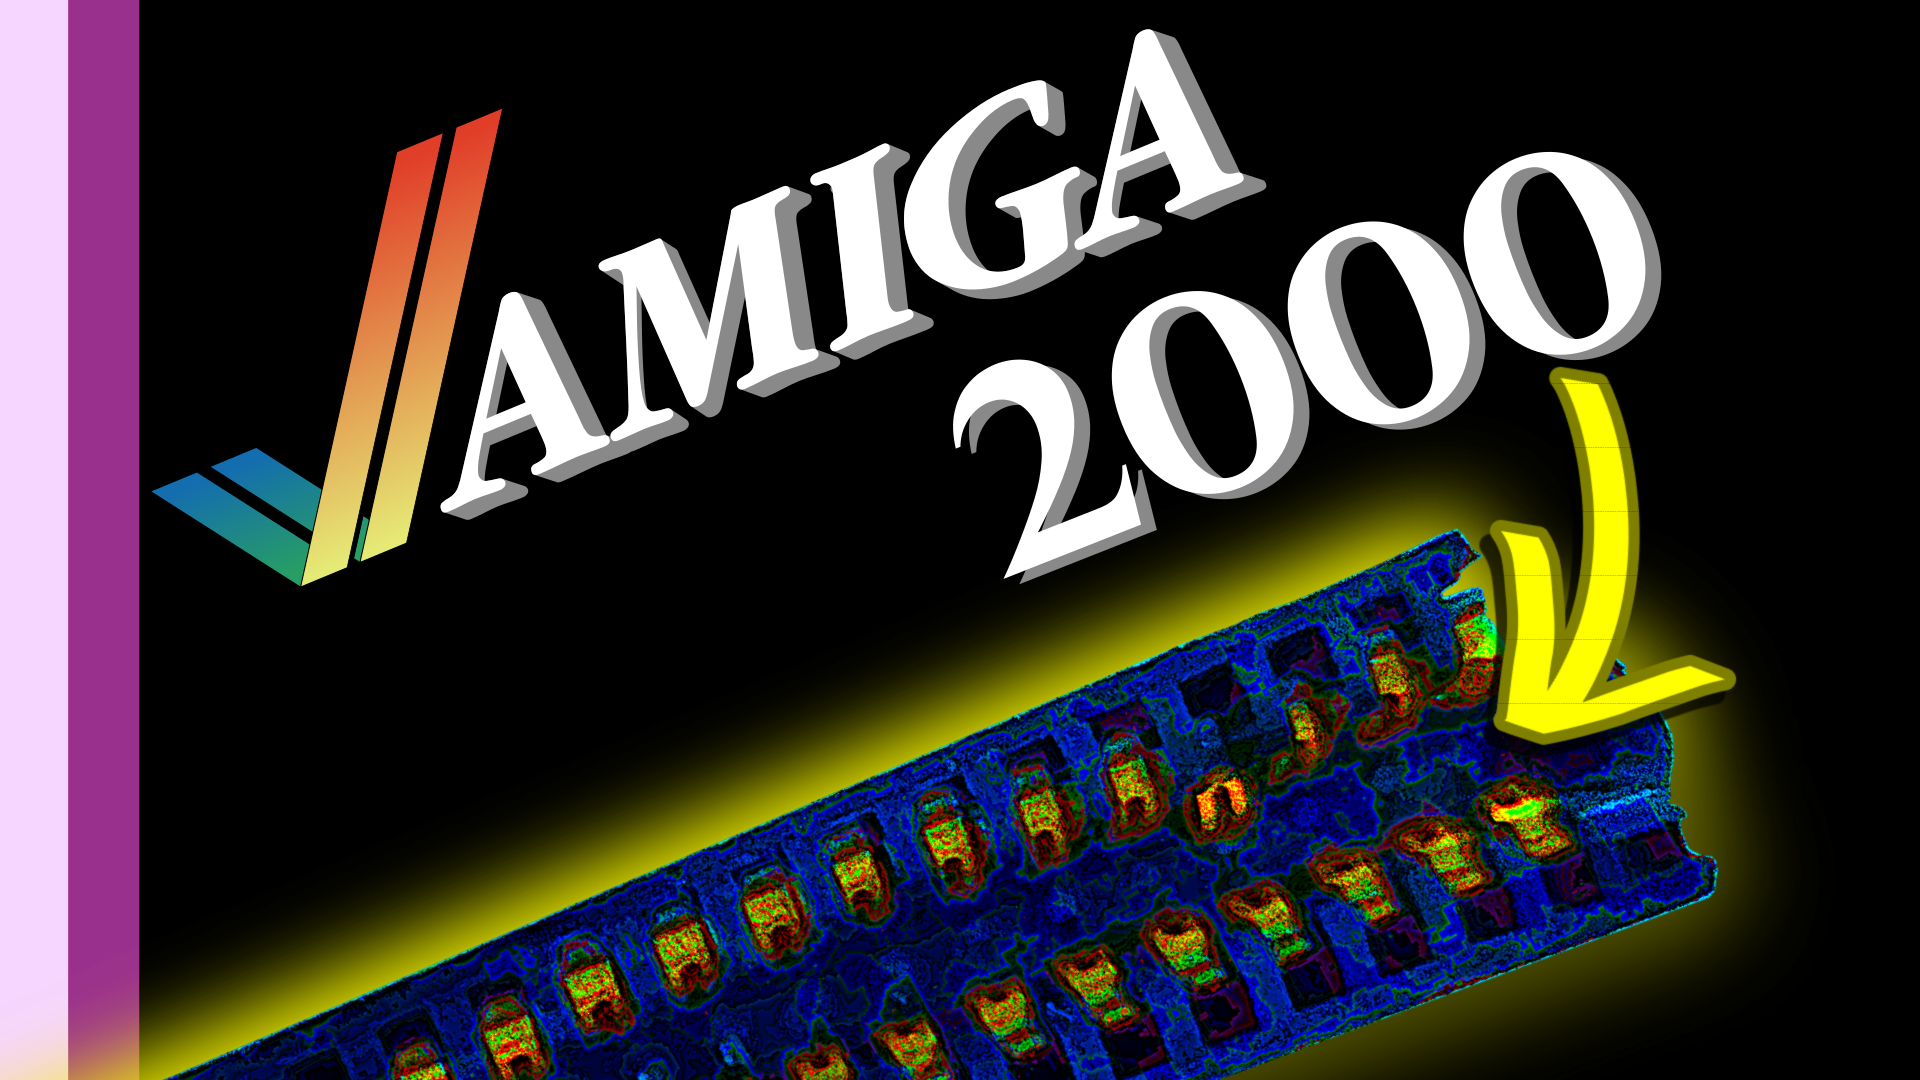
However, issues persisted. Testing revealed unexplained memory discrepancies, and further investigation showed a short across two address lines on the board—a likely artifact from replacing the CPU slot. After removing the offending sliver of metal, I restored proper functionality to the memory and Zorro boards.

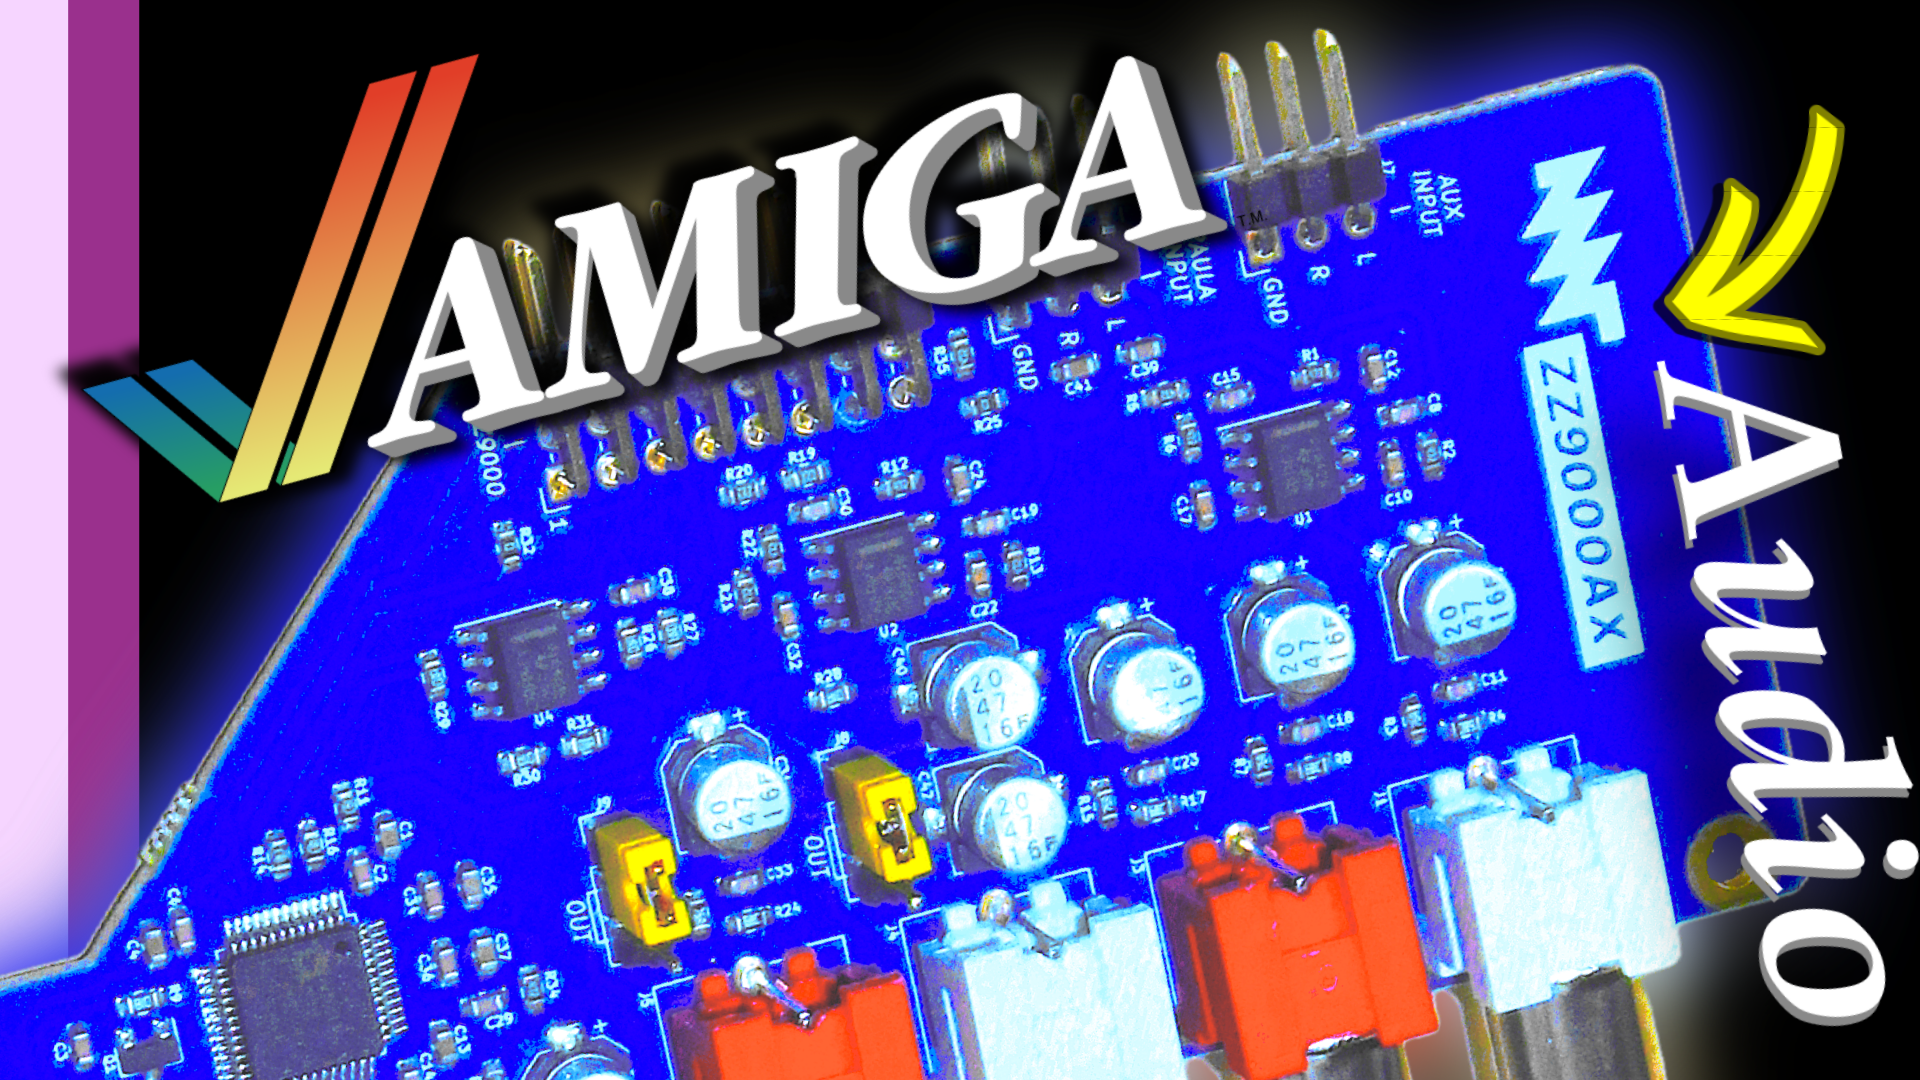
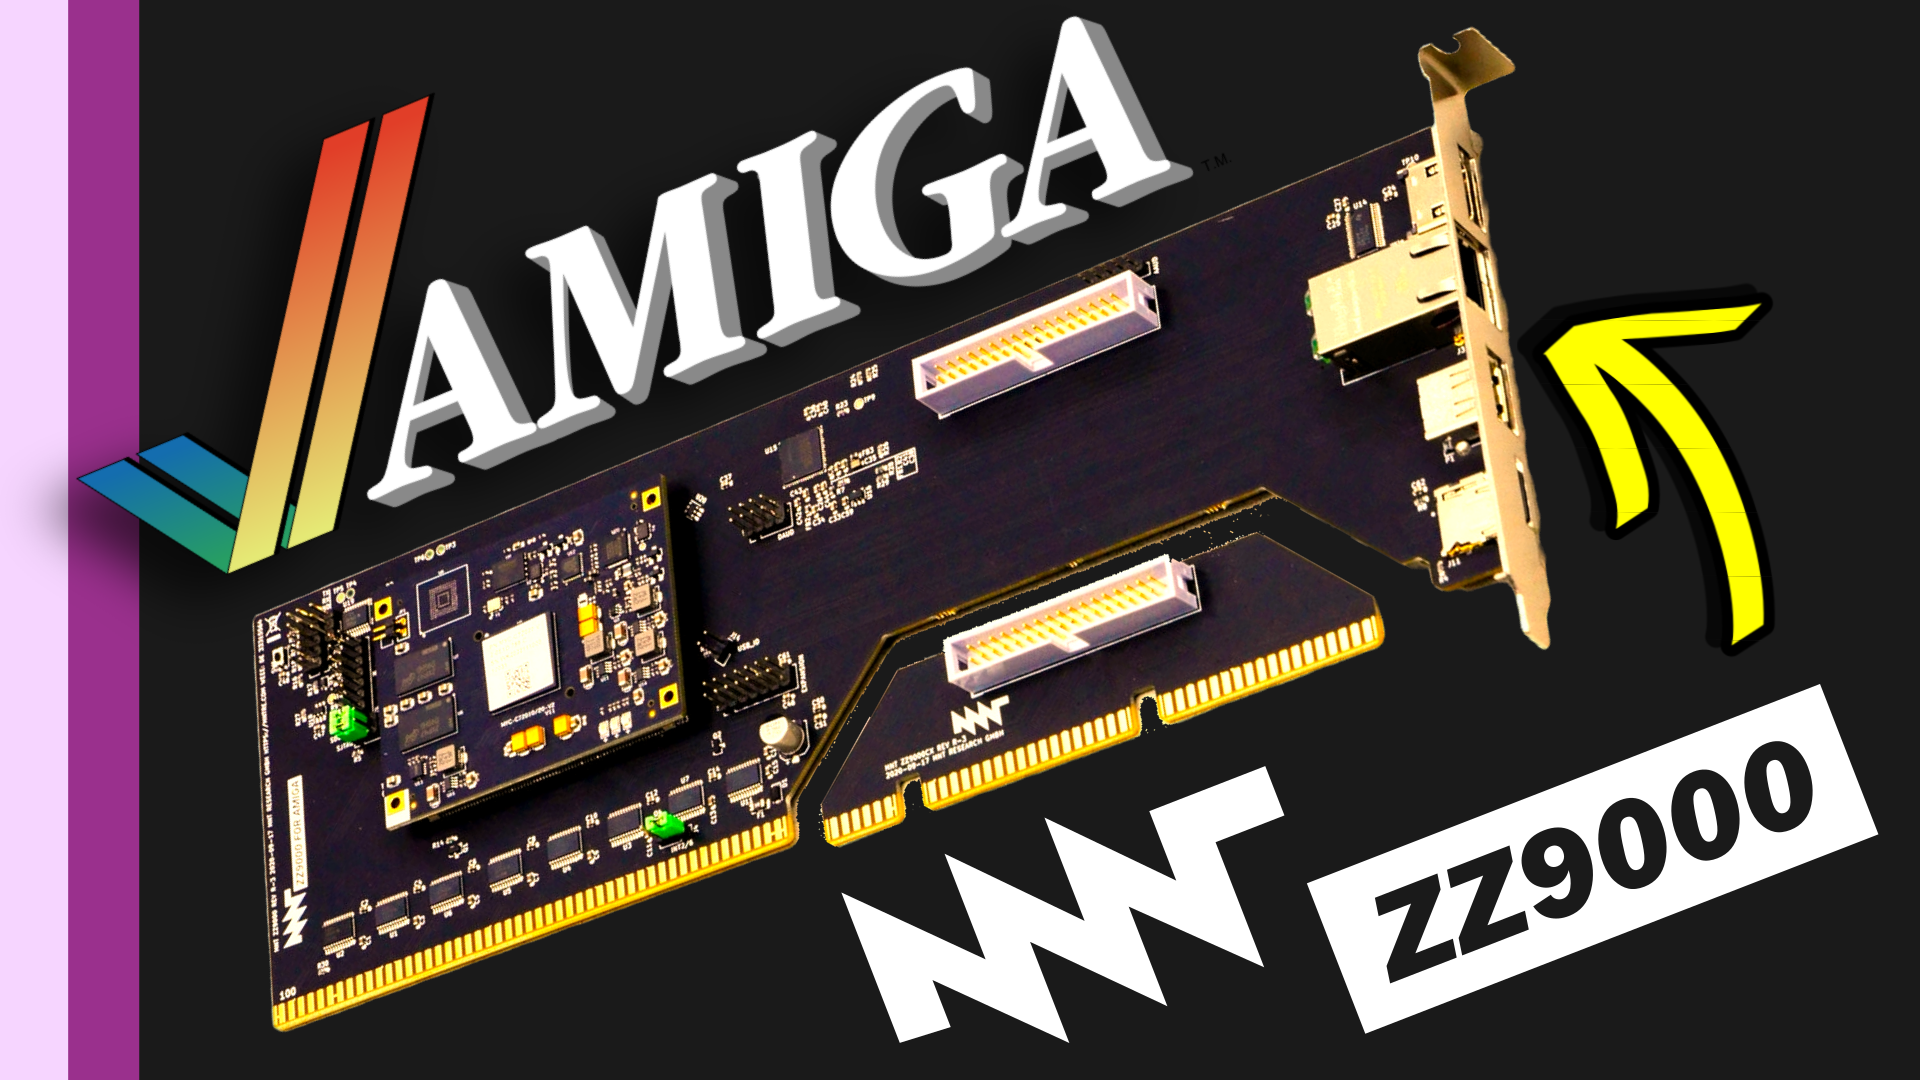
The journey didn’t end there. The Amiga’s ZZ9000 card, used for flicker fixing, lacked a crucial tick signal. I cobbled together a 50 Hz generator using a 555 timer and various components, which not only worked but improved the ZZ9000’s output.

This project has been a testament to the challenges and triumphs of hardware restoration. It’s a continuous learning process, filled with setbacks and victories.

Venturing into the Future of Vintage Computer Storage

As I sit down to embark on a journey into the future of vintage computer storage, I can’t help but feel a mix of excitement and trepidation. Today’s task involves upgrading my system from its traditional spinning rust drive to a more modern solution using Blue SCSI technology. Armed with determination and a bit of DIY spirit, I dive into the process.

The assembly seems straightforward, with minimal fuss required.

A quick glance at the components and a reassuring nod to the provided sticker, and I’m ready to begin. But first, a shoutout to our sponsors, PCB Way, whose support makes this venture possible.

PCBWay

My plan involves using turn pin wire wrap headers, a technique that seems promising. With some careful trimming and alignment, I set to work, hoping to achieve the desired outcome.

As I delve deeper into the project, I encounter some challenges. The drive from my Amiga, though beloved for its nostalgic hum, poses thermal issues incompatible with modern demands. However, armed with a 128GB SD card and determination, I press on, eager to overcome these obstacles.

With power connected and firmware updated, it’s time to create a Blue SCSI image file. A momentary setback caused by missed jumpers is swiftly rectified, and soon, the board is configured correctly.

With bated breath, I load the freshly created image into my emulation setup, and success! The system boots flawlessly, a testament to the fusion of vintage charm and modern innovation.

As I wrap up this phase of the project, I can’t help but feel a sense of accomplishment. The journey into the future of vintage computer storage has been challenging, but immensely rewarding. With one milestone achieved, I eagerly anticipate the next chapter of this technological adventure.

ZZ9000AX

Join me for my installation journey as I delve into the realm of getting 16-bit audio into my Amiga 2000 and even managing to play MP3s from a ZIP disk. The star of the show? The MNT ZZ9000AX, an audio expansion that promises to elevate my Amiga experience.

https://youtu.be/6KlQT7dI-eI

First things first, unpacking the MNT ZZ 9000 AX reveals a meticulously packaged product including the card itself, a stainless steel slot bracket, and all necessary cables. MNT never fails to impress with their attention to detail.

Installation begins with the removal of the ZZ9000 from my Amiga 2000 case, its change in location from original installation, prompted by concerns about heat dissipation from the hard drive. The hardware installation proves straightforward, guided by comprehensive instructions and aided by full-colour illustrations.

The heart of the ZZ9000AX lies in its Analog Devices ADAU1701 SigmaDSP audio chip, promising high-quality digital audio processing. With everything connected, it’s time to put the Amiga back together, though I’ve learned not to seal the case until I’ve verified functionality.

Booting up reveals a successful installation, and with the ZZ 9000 AX recognized, installing drivers is a breeze. The package even includes hardware MP3 decoding, opening up new possibilities for media playback.

With the hardware sorted, it’s time to test the ZIP drive. Copying over some MPEG 3s, I encounter some initial noise issues attributed to interference from the internal audio cable. Disconnecting it resolves the problem, albeit with some sacrifice pass-thru PAULA audio.

A workaround involving auxiliary inputs maintains audio quality, albeit at the expense of convenience. Regardless, the Amiga is now capable of pristine MPEG 3 playback, a feat worth celebrating.

However, the installation journey is not without its challenges. Addressing heat issues caused by the hard drive leads to unexpected connectivity issues, hinting at future troubleshooting endeavors.

In conclusion, the journey to integrate 16-bit audio into my Amiga 2000 was both rewarding and educational, showcasing the ingenuity of the MNT ZZ 9000 AX while highlighting the quirks of vintage hardware.

Amiga 2000 ZZ9000

Join me on an exciting journey as I attempt to upgrade my Amiga 2000 with the stunning ZZ 9000 card. My goal was to enhance its capabilities, but as with any project, things didn’t go entirely as planned.

The ZZ 9000 card promised to bring modern features to my classic Amiga, including RTG graphics, Ethernet networking, and USB drive mounting. However, I quickly ran into a snag—the card didn’t fit properly in my system, and initially, it didn’t work at all.

https://youtu.be/XVvWwRjnjlk?si=MB1O37E845jAVAfa

After troubleshooting, I managed to get the ZZ 9000 up and running. But the fitting issue persisted, requiring me to strip down the entire case to address it properly. Along the way, I also fixed some other issues, like securing the crystal on my accelerator card.

Once the card was functioning, I decided to add more RAM. This process didn’t go smoothly at first, as I encountered what I thought where compatibility issues with the RAM chips. However, after some trial and error, I managed to get the RAM upgraded successfully.

With the ZZ 9000 installed and RAM upgraded, I tested the system’s capabilities, marveling at the flicker-fixing abilities and crisp graphics. I also took the opportunity to clean my keyboard, bringing it back to life.

Despite the challenges, I’m thrilled with the upgrades to my Amiga 2000. But the journey doesn’t end here—there’s still more to explore with the ZZ 9000’s networking and USB capabilities, which I plan to delve into in future videos.

Stay tuned for more exciting projects in 2024, including Zip drives on an Amiga 500 and 600, gaming content, and restoration projects.

Amiga 2000 2MB Chip RAM

I’ve been on quite the journey with my Amiga 2000 lately, and let me tell you, it’s been a rollercoaster of challenges and triumphs. From the moment I got it, slightly dusty and with a few signs of wear, I knew this project was going to be something special.

In my last video, I shared the hurdles I faced in getting the Amiga up and running smoothly. Despite some setbacks, including major surgery to install the upgrades I had in mind, I was determined to see this through.

https://youtu.be/w7D9_lpqDj4?si=_bEPutdt8GSMDctr

The first hurdle was installing AmigaOS 3.2 from CD-ROM. While the setup seemed straightforward, it took some troubleshooting to ensure everything worked seamlessly. I opted to use SCSI spinning rust for storage, adding a nostalgic touch to the system. Sometimes, the sound of a magnetic hard drive spinning brings back fond memories.

Next up was expanding the chip RAM to 2MB using the Ram expansion kit. This seemingly simple task turned into a soldering marathon as I had to swap out the Agnus and Gary sockets. With 132 pins to solder, it was no easy feat, but I persevered.

Adding a coin cell battery adapter and upgrading the 16-bit ISA slots were also on the agenda, promising exciting possibilities for future projects.

To image the old SCSI disk that came with the accelerator card, it took multiple attempts, but I finally got the SCSI drive to spin up and register on the controller, allowing me to image the drive successfully. It was a moment of triumph after much trial and error.

As I wrap up this phase of the project, I’m already planning more upgrades and improvements for my beloved Amiga 2000.

If you’re interested, let me know if you’d like to see a dedicated video on physical disk imaging—I’d be happy to share my process!

Restoration of a Generous Gift

Recently, I had the incredible opportunity to dive into the restoration of a classic Amiga 2000, all thanks to the exceptionally generous donation from Chris Scott. This vintage computing gem came complete with an Amiga 2000 motherboard, a Zorro 2 accelerator card, and additional Zorro 2 cards, setting the stage for a unique and exciting restoration project.

https://youtu.be/PJLDn9Ub734?si=wk7D3IYlbIxyzyG8

Upon receiving Chris’s generous donation, I eagerly delved into the Amiga 2000, examining its components and potential. The machine boasted an MFM hard drive, an A2090A SCSI controller, and a somewhat battered Zorro 2 slot. Further inspection unveiled a hidden gem—a 68030 accelerator card running at an impressive 40 MHz, sparking my interest in potential upgrades.

The initial phase of the restoration involved dismantling the Amiga 2000, revealing layers of grime and signs of battery damage on the motherboard. With meticulous care, I undertook the task of cleaning and preparing the system for the next steps. Notably, the Zorro slot required special attention, with plans to replace the worn-out socket with a gleaming gold-plated 100-pin Zorro 2 connector.

With the cleaning process complete, a mixture of excitement and nervousness filled the air as I powered on the Amiga 2000 for the very first time. To my delight, the familiar Amiga Kickstart 1.3 screen graced the composite video output, signaling a promising start to the restoration journey. Successful booting from the floppy drive revealed the presence of a 68030 accelerator card and a hard drive yearning for Kickstart 2.0.

The restoration adventure didn’t conclude with the initial success. I hinted at future upgrades and endeavors for the Amiga 2000. Plans include imaging the hard drives, and executing an upgrade to a full ECS chipset with a generous 2 Meg of Chip RAM. The journey will also involve integrating a CD-ROM drive and navigating potential challenges that may arise.

The exciting restoration of an Amiga 2000, made possible by the generosity of Chris Scott. As I share my progress and future plans, viewers are invited to join me on this captivating journey, witnessing the classic Amiga 2000 undergo a transformative preservation and modernization process. Stay tuned for upcoming videos chronicling the stages of this thrilling restoration project!

Cookie Consent Banner by Real Cookie Banner