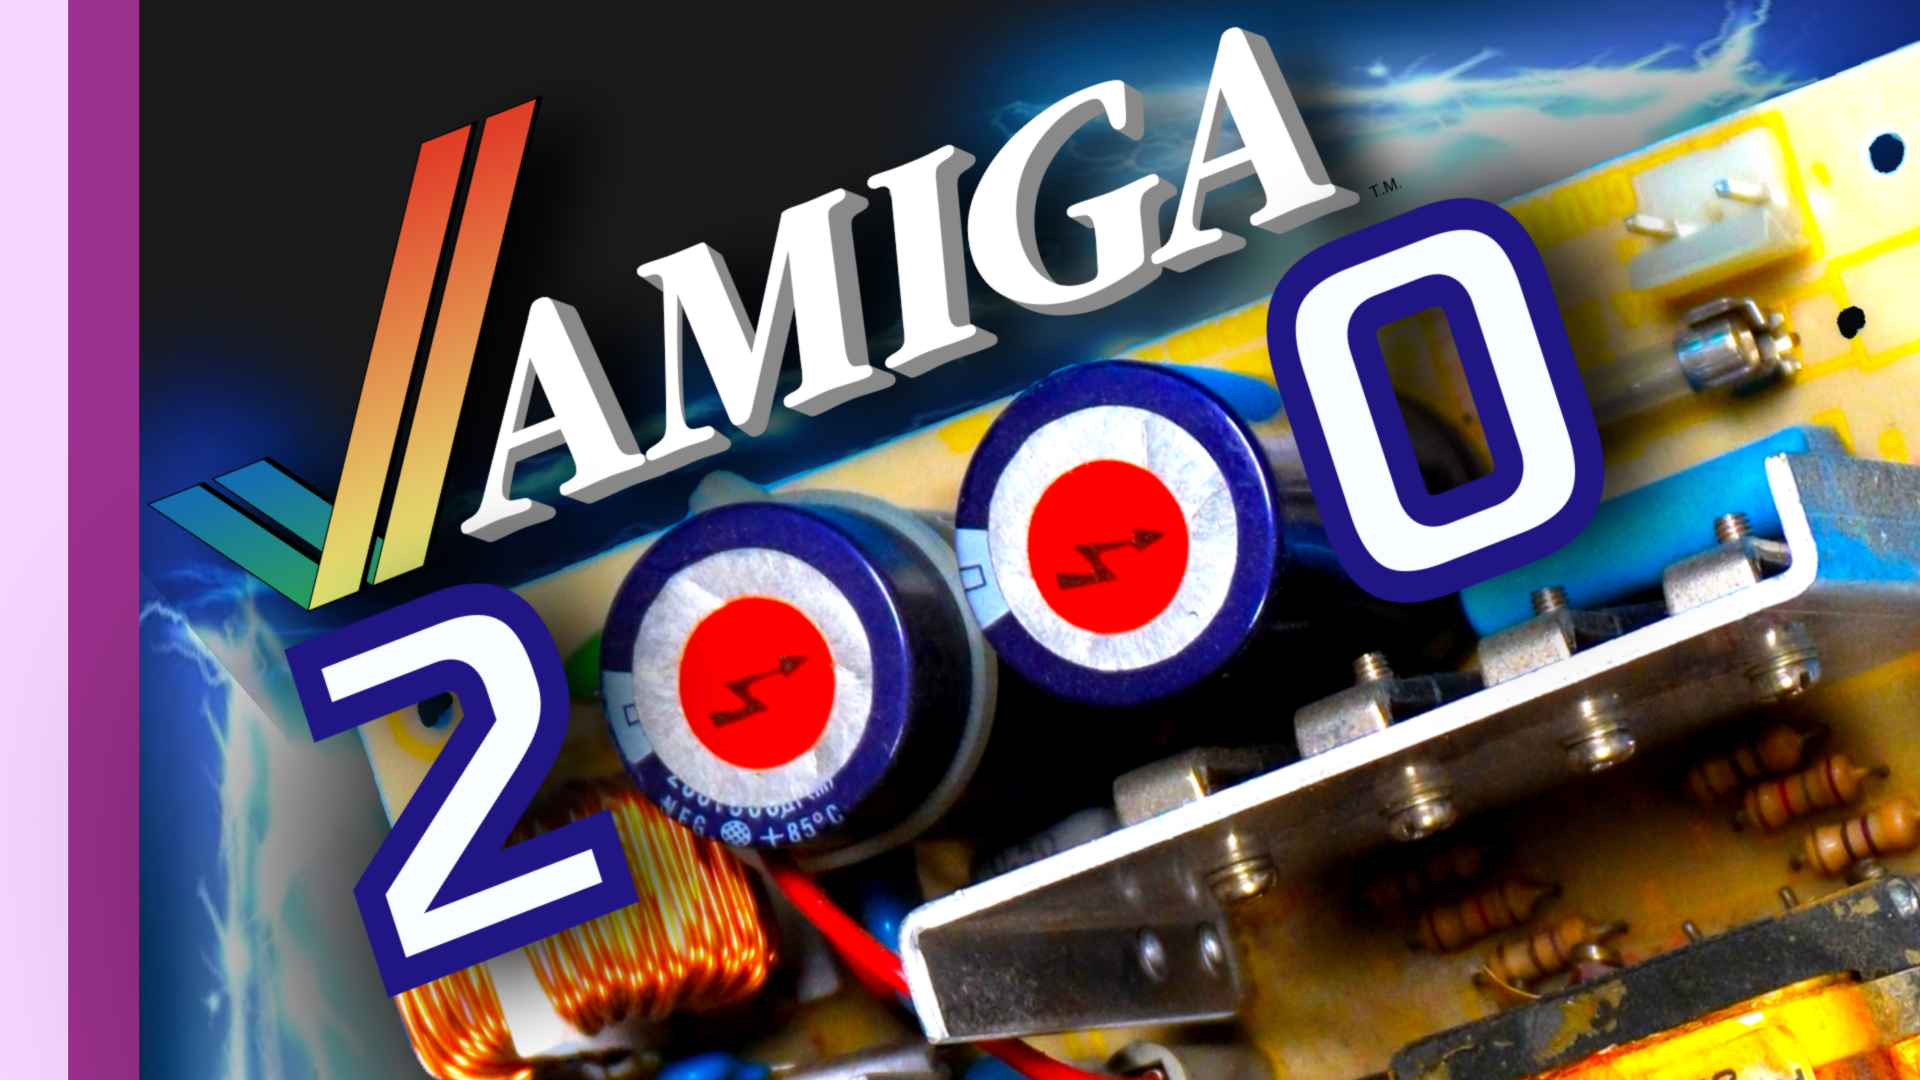
I’ve taken on the challenging yet rewarding task of bringing an Amiga 2000 back to life. If you’ve been following along, you know the journey hasn’t been smooth. The last update left the Amiga half-assembled with a problematic CPU slot and an overheating hard drive. As if that wasn’t enough, the power supply decided to give up on me.
Upon deeper inspection, it was clear that more work was needed. The power supply was non-functional, leading me to replace a suspect capacitor, though these fixes didn’t solve the problem.
Delving deeper, I decided to replace the voltage comparator and the strobe controller—fortunately, these parts were inexpensive. I installed new sockets and integrated circuits, hoping this would fix the issue.
Despite all these efforts, the power supply still failed. This led me to completely recap it, which seemed promising until it catastrophically failed again after just 15 seconds. I realized that some parts were either unknown or impossible to find.
I obtained a COMPAQ HB 146 SNQ power supply that mirrored the Amiga 2000’s requirements, I decided to adapt an ATX power supply, ensuring it matched the original’s settings. This required making it a permanent 230-volt input and using the original Amiga 2000 switch to activate the ATX’s PS-ON signal, effectively integrating it with the original system.
Testing the new setup, I used an old SCSI hard drive as a load to ensure stable voltage outputs. The results were satisfactory, with the 5V line perfectly on target, although the 12V line was slightly low—a point some might contest.
With the power supply sorted, I turned my attention back to the Amiga itself. I cleaned up acid damage on the board, replaced the battery with a more reliable one, and swapped out the old hard drive bracket for a 3D printed back plate, enhancing the setup.
However, issues persisted. Testing revealed unexplained memory discrepancies, and further investigation showed a short across two address lines on the board—a likely artifact from replacing the CPU slot. After removing the offending sliver of metal, I restored proper functionality to the memory and Zorro boards.
The journey didn’t end there. The Amiga’s ZZ9000 card, used for flicker fixing, lacked a crucial tick signal. I cobbled together a 50 Hz generator using a 555 timer and various components, which not only worked but improved the ZZ9000’s output.
This project has been a testament to the challenges and triumphs of hardware restoration. It’s a continuous learning process, filled with setbacks and victories.

