The Final Chapter of the Amiga 500 Frankenstein Build

Part 1 is here -> Building a Frankenstein Amiga: A Journey of Restoration and Customisation

Welcome to the final part of my Amiga 500 Frankenstein build, which I’m doing for the More Fun Making It charity auction. This journey began with a couple of neglected and yellowed A500 cases. Well, to be precise, it involved parts from at least three different cases that had all seen better days. One of the bottom halves was particularly damaged, so I swapped it out for a better one. When this project is finished, it’s going to be more of a Cinderella transformation rather than an ugly sister. However, I must warn you, the final color might be a bit of a Marmite situation – you’ll either love it or hate it.

First things first, I had to remove all the badges from the case and give it a thorough clean. This thing needed to be absolutely pristine before I could change the color.

With the case cleaned, the first phase of the color transformation involved spraying it with a black undercoat. This black layer acts as a plastic primer and base coat for the wild color that’s coming next. I must admit, it did look pretty good in black, but black Amigas are quite common these days. We’re going for something a bit more unique here. I planned on adding another two, maybe three, coats of the crazy color, followed by some lacquer to ensure the finish is robust enough to withstand regular use.

After about two weeks of painting and letting it dry, I decided to take the case with me to RMC the Cave to get Lee’s opinion. Here’s a picture of me at the RMC Retro shop.

With the paint now well and truly dry, I could finally put the finishing touches on the case and place the Amiga 500 board in its new home. The next stop was kickstart, where Reese showed his skills by playing any Doom game on any platform, even if it’s not an Atari. I spent much of the day chatting with people and hanging out with other YouTubers in the community room.

At the end of the day, we had a small signing ceremony, which was a great way to wrap things up. Here’s a quick look at that moment.

You might think that’s the end of the journey, but when I got back a couple of weeks later, I needed some footage for the end of this video. When I tried to fire up the Amiga, it was dead. So, I immediately began troubleshooting. After pushing some chips and trying again with no luck, I knew it was time for the big guns. I started by eliminating the CPU and Gary, the usual culprits for a black screen on an Amiga 500. I then beeped out the entire CPU socket and found one pin that wasn’t connected correctly. Turning the board over, I checked the trace and found continuity. Confused, I turned the board back over and lost continuity.

Thinking I was just too tired, I called it a night. Day two brought no change. Looking at the underside of the board with magnification, I saw that the trace was slightly damaged. The flexing of the board when turning it upside down was enough to make contact. So, I put a piece of wire across the damaged trace, and it was solid again. The Amiga fired up like nothing ever happened.

With the board now fully functional, I tidied it up and added any finishing touches I thought necessary. Then, I buttoned it up, put it back in the box, and finished the video. This time, I made sure to test it both before and after putting the lid on.

I’ll be doing something else in a similar style for another charity auction soon, so why not subscribe to my YouTube channel and make sure you don’t miss that video when it comes out? It’s free and helps the channel.

Thanks for following along on this journey!

Cheers!
Building a Frankenstein Amiga: A Journey of Restoration and Customisation

Today, I’m diving into another exciting project: creating a Frankenstein Amiga from various parts I have lying around. Most of these parts come from a job lot of leftover spares I found on eBay. You might be wondering why I’m doing this. Well, I’m challenging myself and also building an Amiga for a charity auction organized by a friendly man named Lee from the YouTube channel More Fun Making It.

The Challenge Begins

There’s something a little strange going on with this Amiga 500 Revision 5. It seems that not all the RAM chips are managing to output TTL logic levels. Based on what I’m seeing on the scope diagram, it’s giving me random green and blue flashes. So, I’m going to pull all the RAM out and socket it. Having the RAM in sockets will be a much better solution for the new owner, especially if any of the RAM I’m installing goes bad in the future.

A Series of Unfortunate Events

The first thing I desolder, ignoring my marks, is the resistor pack. Well, let’s just style that out and pretend no one noticed (lol). Now, all the RAM has been removed, before we can solder in any of the new sockets for the RAM, we need to tack back in those resistor packs—the ones I unsoldered for no reason. Not that I’m planning to put any of the original RAM back in, but let’s go ahead and test it to see if it shows up as bad. Amazingly, all of the RAM tests good. I suppose the heat from desoldering the chips might have revived it, or maybe the logic levels I saw are enough for the tester but not for the Amiga. Or perhaps the RAM isn’t the issue, and we’ve got something else causing the Amiga not to function.

Progress

Time to start putting the sockets in: 16 * 16 pin DIP sockets, that’s 256 solder points plus the resistor packs that I unsoldered for no reason. I tack in one socket and solder it up to make sure I’m happy with the temperatures before I go ahead and install all the rest. I tacked in the rest using the two voltage pins, 5 volts and ground. The followed up by soldering the rest of the pins and clean up the flux. That’s all the sockets installed. Now they just need chips.

Installing the RAM

I remembered someone saying they hated turn pin sockets because they’re hard to line up with the chip pins. So I thought I’d showcase how I do it. This is just how I do it; it’s not advice. I’m not a chip insertion instructor. If you don’t like it, don’t do it. I’m just saying it works for me. Basically I insert one row of pins and then gently apply pressure to the other side while running my tweezers across the chip pins this locates the pins in the socket, it usually takes a couple of strokes for all the pins to align then the chip just goes in without issue. This is similar mechanics to picking a lock…

All the RAM is installed and looking lovely. I took the liberty of fixing the ROM socket so it will take a 27C400 EPROM or a later mask ROM. This is another future-proofing step for the next owner should they want to upgrade to a later Kickstart version.

Final Touches

We have life! I’ve cleaned up the flux and covered the bodge wires from the ROM socket modification. We have a working board, but we need more than that to build a full Amiga. In the same job lot of parts, I have several bits of keyboards. This is where it gets even more Frankenstein. The keys aren’t laid out in the same way as my other 500s. I think this is from an earlier keyboard. The controller is from a Rev 6 Green Power Light. If you can properly identify the original revision any of these parts came from, then please comment on the video.

Testing and Tuning

Hooking it all back up with the keyboard and making sure it’s happy before we swap out DiagROM for Kickstart and try booting the Amiga into Test Kit. After confirming all is well with the Amiga, the next step is to get it to boot into Workbench and see if we can load StarTracker from the external GoTek drive. The plan is to load a module and play it, which will give I/O, graphics, and RAM a fairly good workout.

Going the Extra Mile

Since we’ve opened Pandora’s box, I thourght why not see if we can get that 512K of RAM in the trapdoor to be chip RAM? Having a total of 1MB chip RAM opens more games and options for the next owner. We just need an 8372A Agnus some little modifications. JP2 needs to be swapped, we need to cut a trace from Gary to the trapdoor, and we need to cover pin 41 on Agnus to keep it in PAL and prevent it from switching to NTSC.

While you weren’t looking, I’ve sprinkled a little cosmetic customisation over this Amiga 500. All we need now is a case.

Part 2 coming soon!

Building this Frankenstein Amiga has been a labor of love, filled with moments of frustration and triumph. I hope it finds a good home at the charity auction and brings joy to its new owner!

IOAMIGA

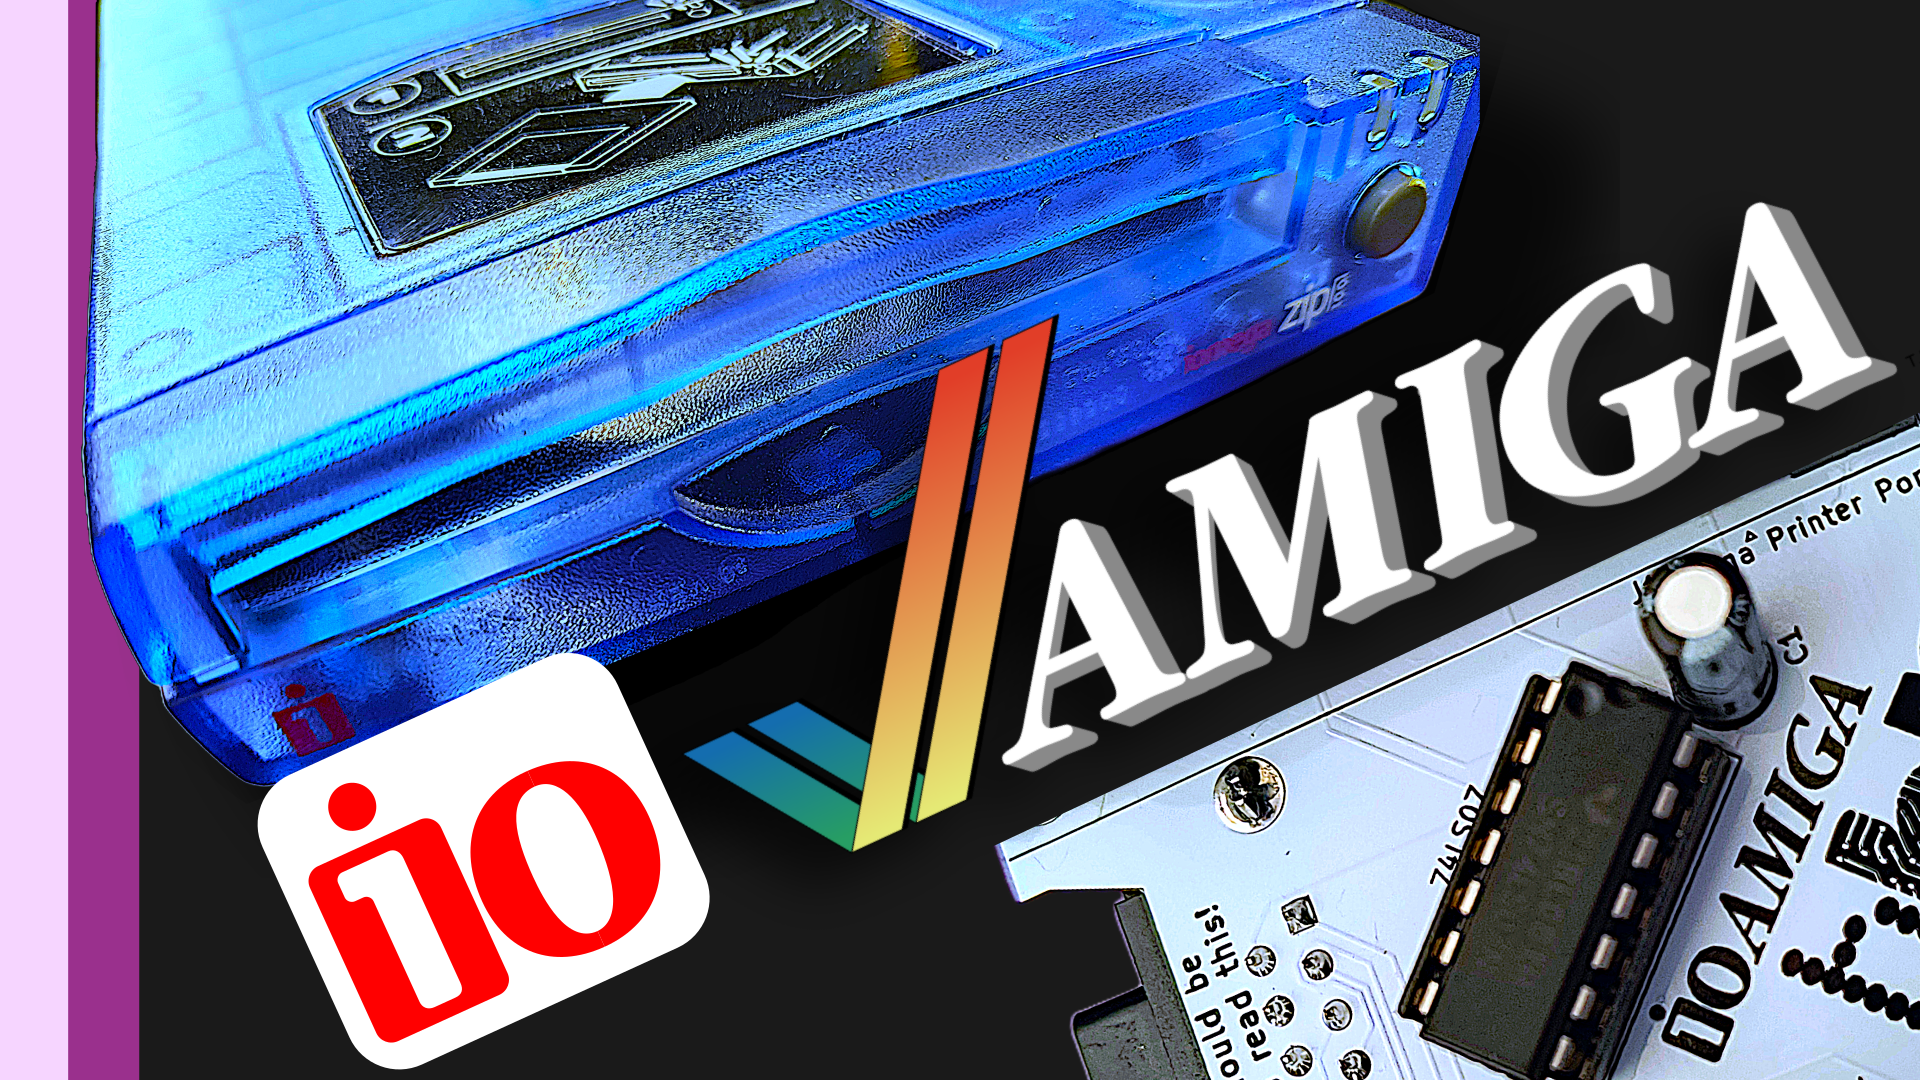
In 1994, amidst the bankruptcy of Commodore, a groundbreaking technology emerged: the Iomega Zip drive. This innovation revolutionized storage by allowing users to store a whopping 100 Megabytes of data on a single disc, eliminating the need for juggling multiple floppy disks to transfer files between computers. With its high capacity and fast transfer speeds, the Zip drive quickly became the preferred solution for both professionals and home users, offering a convenient way to handle larger files.

https://www.youtube.com/watch?v=OmjO12MW9Nk

For Amiga enthusiasts, the Zip drive presented an exciting prospect. Available in three versions – parallel port, SCSI, and eventually USB – it promised compatibility with nearly three decades worth of hardware. However, while the SCSI versions offered straightforward connectivity on big Amigas, the parallel port posed a challenge for owners of Amiga 500, 600, or 1200 models due to slight differences in the port’s specifications.

Enter Bruce Abbott, a visionary who in 1998 introduced the PPA Zip solution. This hardware and software package bridged the compatibility gap, enabling Amiga users to utilize a parallel port Zip drive by leveraging additional signals from the joystick port. Inspired by Abbott’s work, I embarked on my own project to build a similar solution.

My version of the solution involved designing a buffered circuit board that neatly integrated behind an Amiga 500 without obstructing other ports. After completing the construction and testing phase, I successfully connected the Amiga to the parallel Zip drive, demonstrating its functionality with ease.

Installing the PPA Zip solution on Amiga OS 3.2 proved relatively straightforward, involving the placement of relevant files in designated folders. With everything set up, I proceeded to test its capabilities by transferring files, starting with a simple text file and eventually copying a game from my Amiga archive on my PC.

The entire process went smoothly, showcasing the effectiveness of the PPA Zip solution and opening up new possibilities for Amiga enthusiasts.

Cookie Consent Banner by Real Cookie Banner