-
Building a Frankenstein Amiga: A Journey of Restoration and Customisation
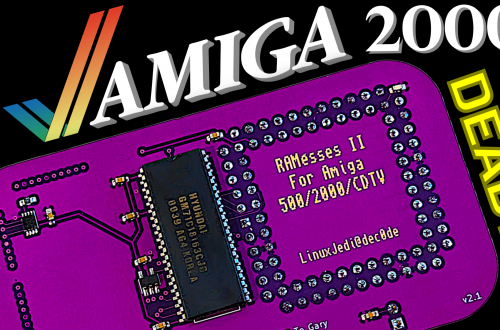
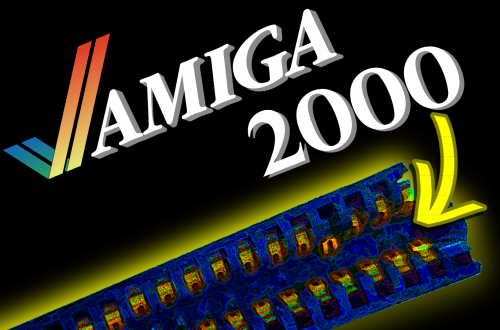
Today, I’m diving into another exciting project: creating a Frankenstein Amiga from various parts I have lying around. Most of these parts come from a job lot of leftover spares I found on eBay. You might be wondering why I’m doing this. Well, I’m challenging myself and also building an Amiga for a charity auction organized by a friendly man named Lee from the YouTube channel More Fun Making It. The Challenge Begins There’s something a little strange going on with this Amiga 500 Revision 5. It seems that not all the RAM chips are managing to output TTL logic levels. Based on what I’m seeing on the scope diagram,…
-
A DIY Journey with a 555 Timer
I want to share my recent journey in reviving my beloved Amiga 2000 using a bit of modern tech and some creative engineering. It’s been quite the adventure. The Power Supply Hack It all began with the power supply. After my Amiga’s original power unit gave up, I decided not to settle for an expensive or hard-to-find replacement. Instead, I went for a modern solution—transplanting an ATX power supply. This not only gave my Amiga a new lease on life but also made it more robust and reliable. Crafting the Tick Generator The next step involved the heart of the Amiga’s timing mechanism—a tick generator. Using a simple 555 timer…
-
Reviving the Amiga 2000: A Journey of Restoration and Problem-Solving
I’ve taken on the challenging yet rewarding task of bringing an Amiga 2000 back to life. If you’ve been following along, you know the journey hasn’t been smooth. The last update left the Amiga half-assembled with a problematic CPU slot and an overheating hard drive. As if that wasn’t enough, the power supply decided to give up on me. Upon deeper inspection, it was clear that more work was needed. The power supply was non-functional, leading me to replace a suspect capacitor, though these fixes didn’t solve the problem. Delving deeper, I decided to replace the voltage comparator and the strobe controller—fortunately, these parts were inexpensive. I installed new sockets…
-
New
Welcome to my Patreon!
-
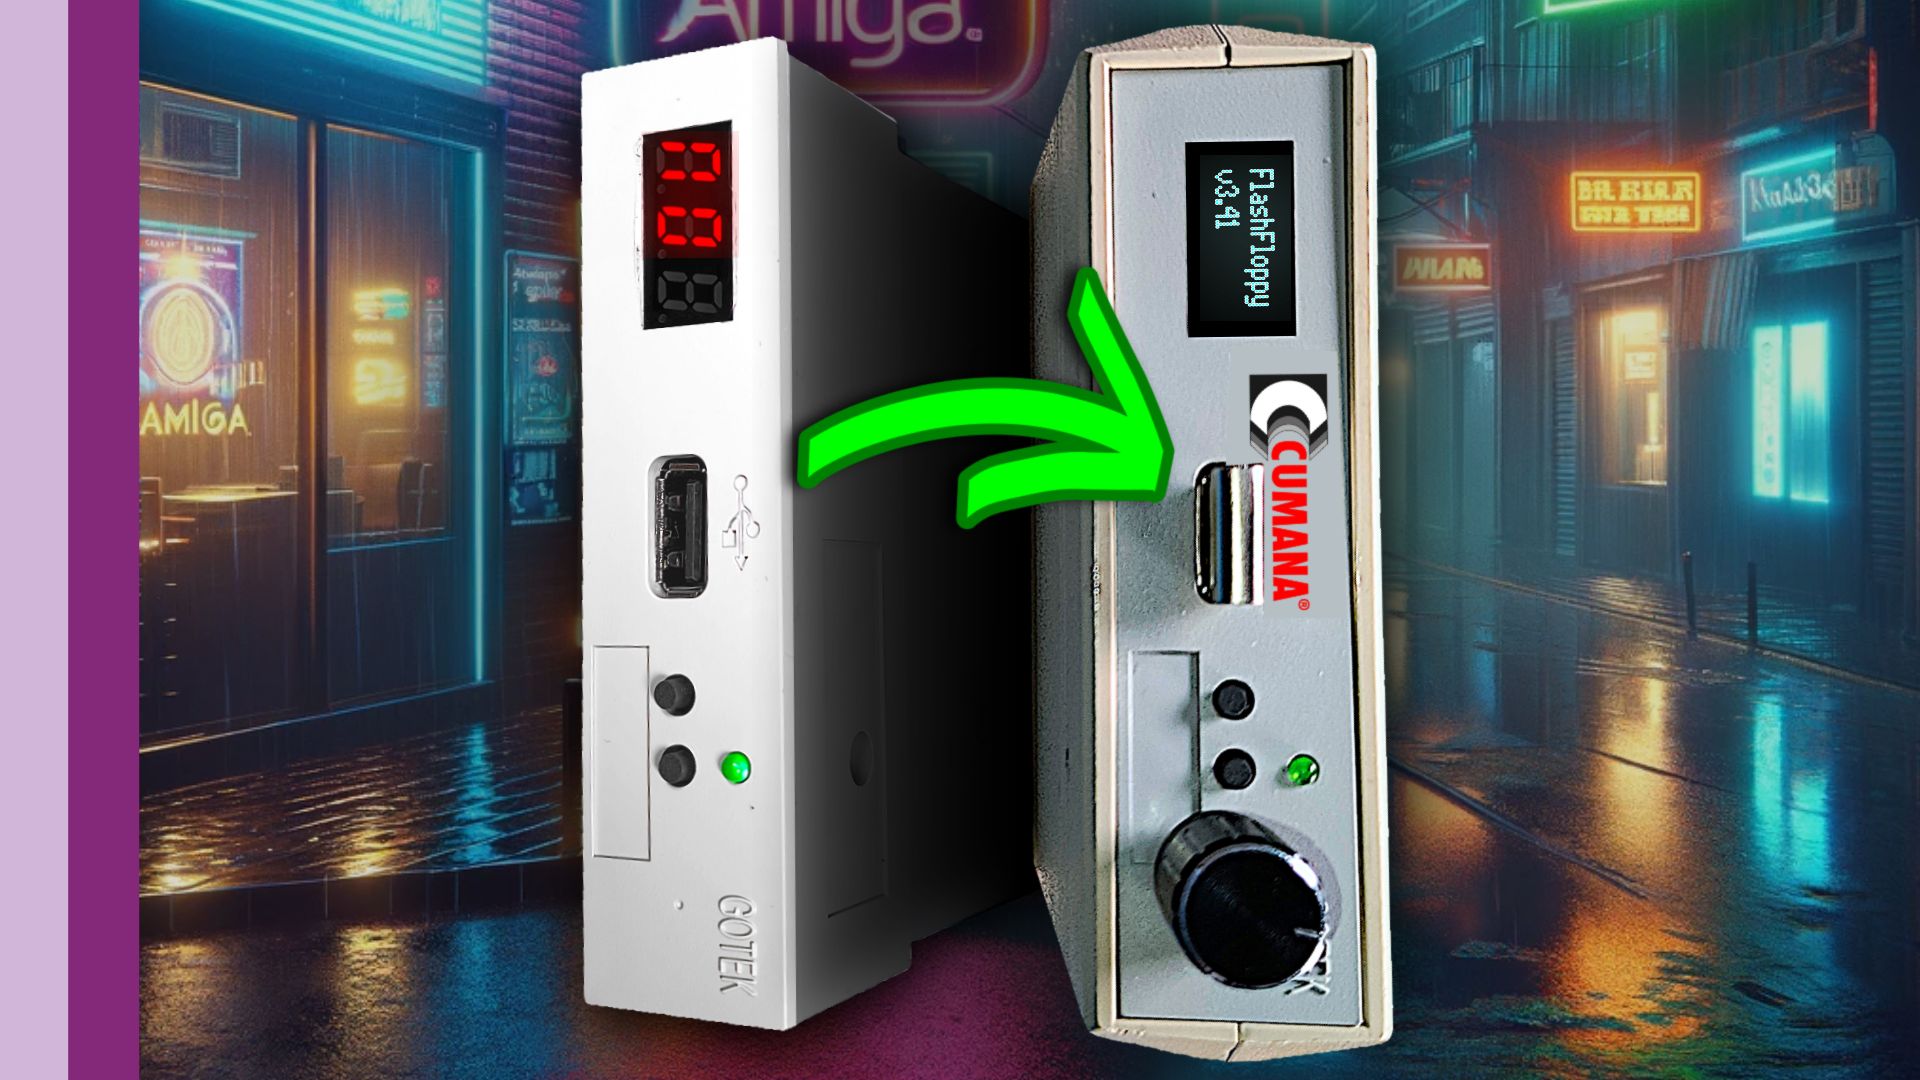
Vintage Vibes: GOTEK Drive’s Nostalgic 80s Upgrade
In my latest quest to enhance my Amiga tech setup without succumbing to the often-inflated prices attached to Amiga-branded tech, I decided to embark on a project that not only tickles my nostalgic senses but also brings modern efficiency to my beloved Amiga setup. I’ve always had a particular disdain for the aesthetically displeasing, modern external floppy drive enclosures that seem to populate the market today. They often come with compromises, such as a lack of the vintage 23-pin D type connectors, essential for that authentic connection, or the absence of a pass-through feature on the back, which I find incredibly useful. Determined to maintain the vintage aesthetic while upgrading…
-
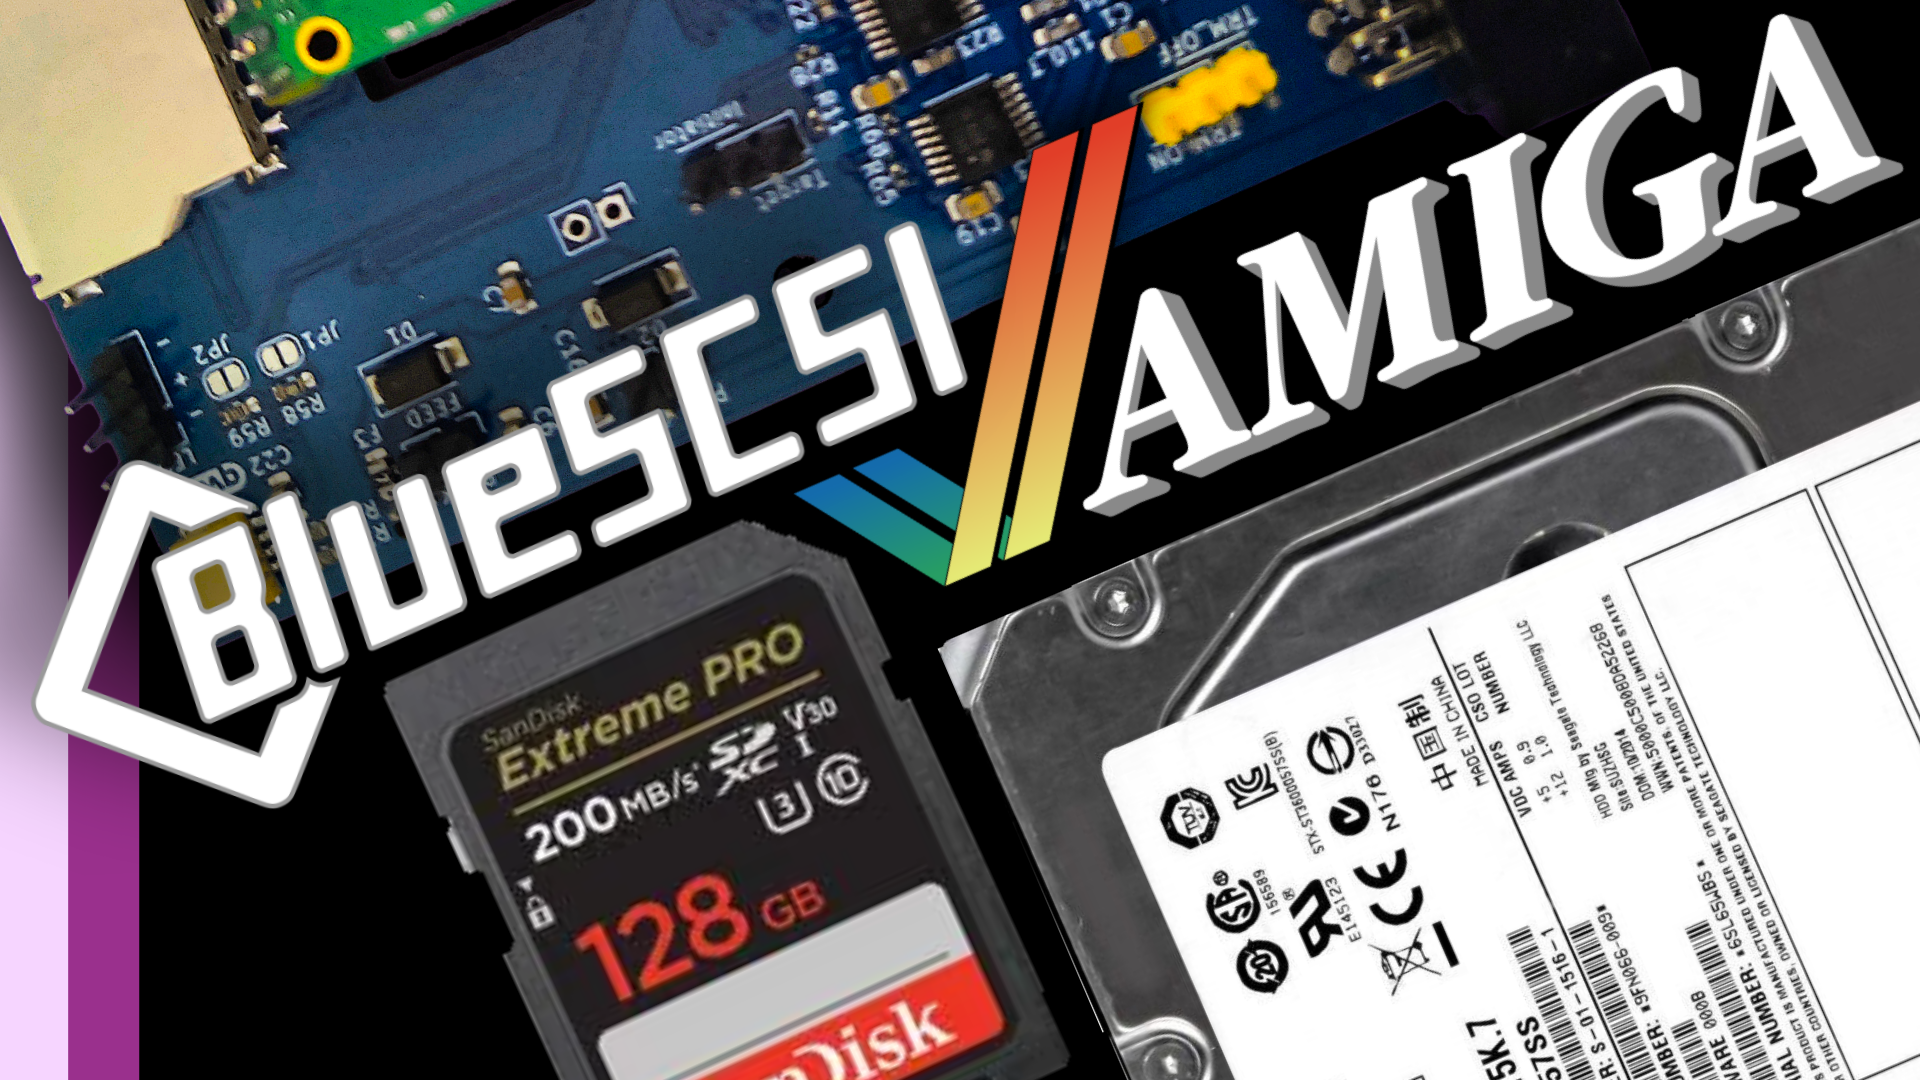
Venturing into the Future of Vintage Computer Storage
As I sit down to embark on a journey into the future of vintage computer storage, I can’t help but feel a mix of excitement and trepidation. Today’s task involves upgrading my system from its traditional spinning rust drive to a more modern solution using Blue SCSI technology. Armed with determination and a bit of DIY spirit, I dive into the process. The assembly seems straightforward, with minimal fuss required. A quick glance at the components and a reassuring nod to the provided sticker, and I’m ready to begin. But first, a shoutout to our sponsors, PCB Way, whose support makes this venture possible. PCBWay My plan involves using turn…
-
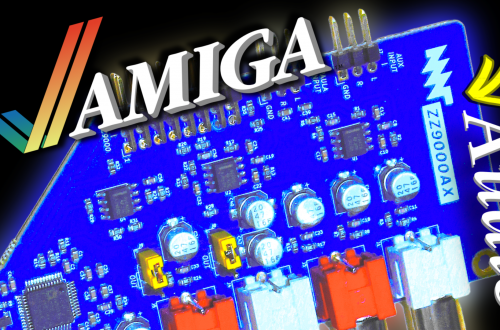
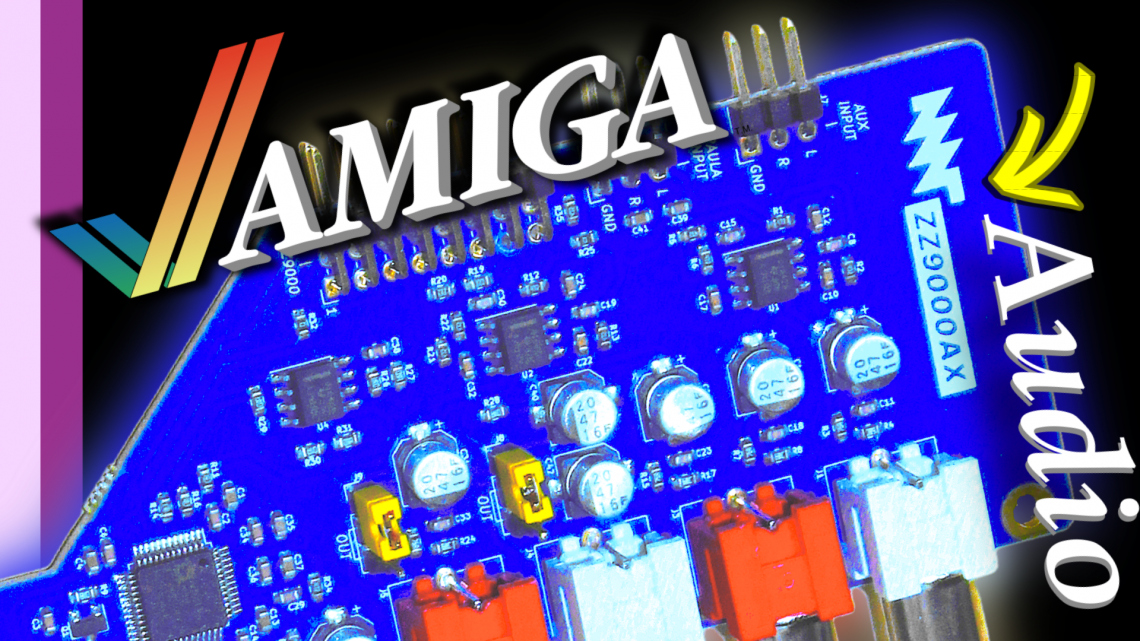
ZZ9000AX
Join me for my installation journey as I delve into the realm of getting 16-bit audio into my Amiga 2000 and even managing to play MP3s from a ZIP disk. The star of the show? The MNT ZZ9000AX, an audio expansion that promises to elevate my Amiga experience. First things first, unpacking the MNT ZZ 9000 AX reveals a meticulously packaged product including the card itself, a stainless steel slot bracket, and all necessary cables. MNT never fails to impress with their attention to detail. Installation begins with the removal of the ZZ9000 from my Amiga 2000 case, its change in location from original installation, prompted by concerns about heat…
-
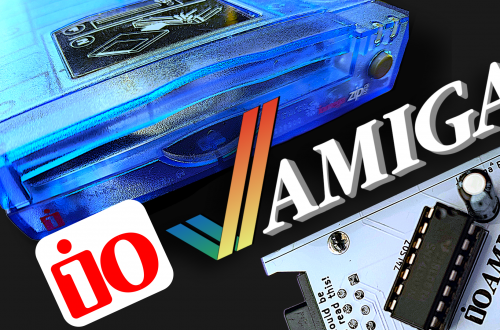
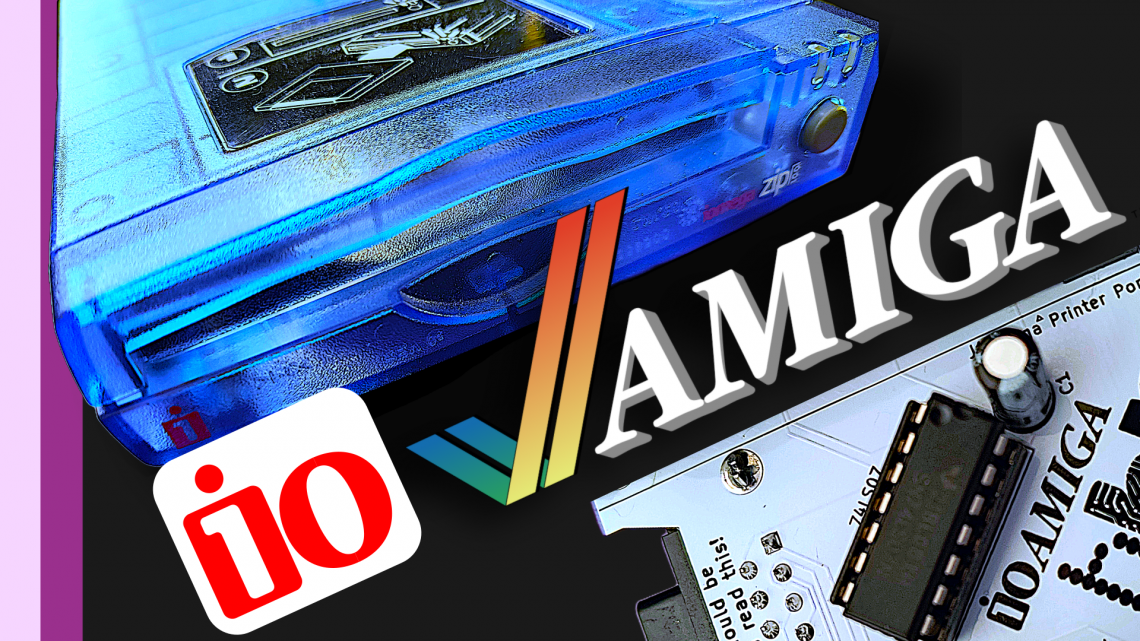
IOAMIGA
In 1994, amidst the bankruptcy of Commodore, a groundbreaking technology emerged: the Iomega Zip drive. This innovation revolutionized storage by allowing users to store a whopping 100 Megabytes of data on a single disc, eliminating the need for juggling multiple floppy disks to transfer files between computers. With its high capacity and fast transfer speeds, the Zip drive quickly became the preferred solution for both professionals and home users, offering a convenient way to handle larger files. https://youtu.be/OmjO12MW9Nk For Amiga enthusiasts, the Zip drive presented an exciting prospect. Available in three versions – parallel port, SCSI, and eventually USB – it promised compatibility with nearly three decades worth of hardware.…
-
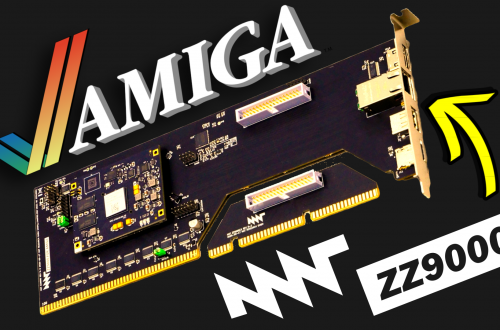
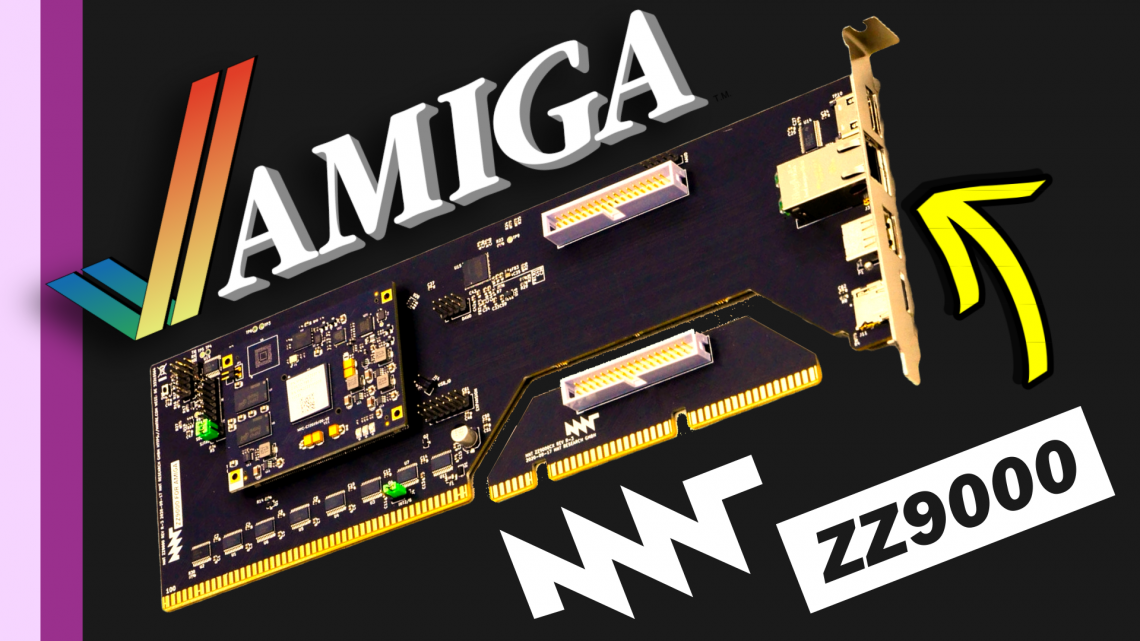
Amiga 2000 ZZ9000
Join me on an exciting journey as I attempt to upgrade my Amiga 2000 with the stunning ZZ 9000 card. My goal was to enhance its capabilities, but as with any project, things didn’t go entirely as planned. The ZZ 9000 card promised to bring modern features to my classic Amiga, including RTG graphics, Ethernet networking, and USB drive mounting. However, I quickly ran into a snag—the card didn’t fit properly in my system, and initially, it didn’t work at all. After troubleshooting, I managed to get the ZZ 9000 up and running. But the fitting issue persisted, requiring me to strip down the entire case to address it properly.…
-
SEGA for Christmas
My mission was to restore a Sega Mega Drive so my wife could enjoy playing Sonic the Hedgehog before Christmas. I acquired the cheapest Sega Mega Drive 2 I could find on eBay, though it had some issues. It rattled and didn’t work properly, so the first step was disassembly. https://youtu.be/8XezjXYjvXE?si=FMT46XufPp7eETsy Upon disassembling the console, I discovered that someone had previously tinkered with it, evidenced by a loose screw. Additionally, the power barrel jack was poorly connected, almost as if it was secured with chewing gum. After some meticulous cleaning and soldering work, I managed to rectify these issues. However, the problems didn’t end there. Despite fixing the power connection…